About Membership
If you have been using an older version of Church Windows prior to version 20, you'll notice that Membership has gotten a big update.
When you click on the Membership button from The Initial Portal, it will open a whole new window we will call the Membership Portal. This will have seven different in the center of the screen as well as a Button Bar across the top of the screen to choose from different functions depending on what you need to do.
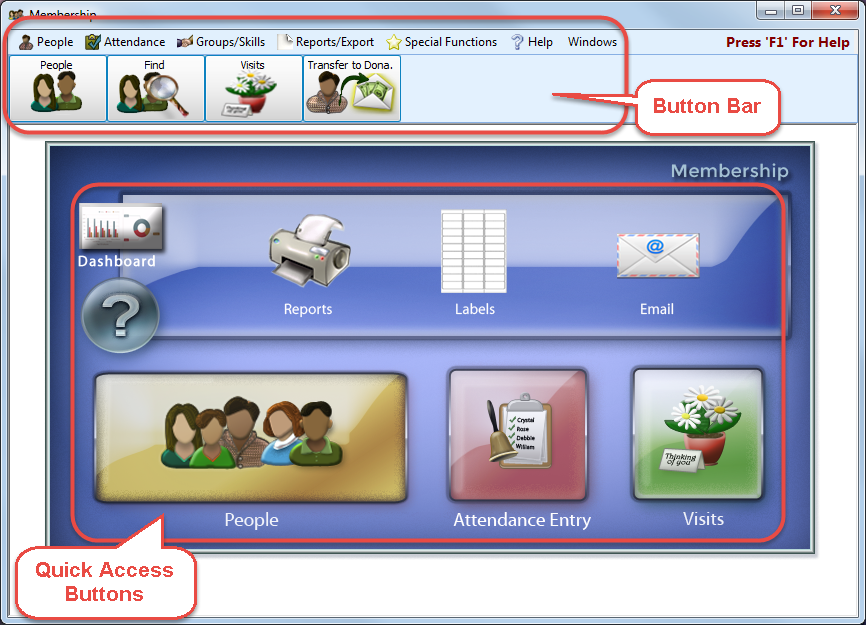
Dashboard — Each module contains an area called the Membership Dashboard which contains various charts and graphs.
? — This is the Help button which will open this help interface (you can also press the F1 key on your keyboard from anywhere in Church Windows to bring you to the relevant section of these help files).
Reports, Labels, and Email — This is now the quickest way to get to the interface for Reports / Directory / Exports, Labels, or Setup Email. There are links to some specific reports through various other screens such as The Find Grid, or attendance reports, but if you just need to get directly to specific Membership reports to print, export, or email, this is the best method to use to get to each of them.
People, Attendance Entry, and Visits — The People File button will take you to your database of family and individual records for Members, Visitors, and other Categories of people. Attendance Entry will take you straight to the screen to record attendance for your Events and Groups / Classes. Visits will take you to the personal visits screen.
Button Bar
 People
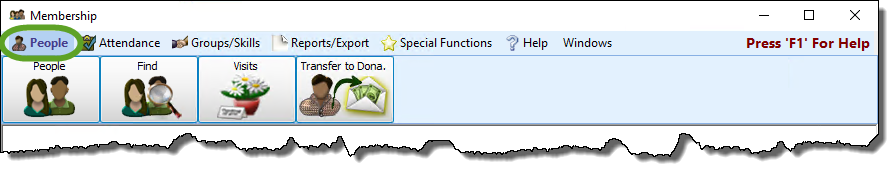
- The People File allows you to interact with the records for families and individuals in your database, regardless of whether they are Members, Visitors, or any additional Family Categories of people which you are now able to add to the database to organize the records.
- Find will help you locate and edit information for families and individuals Using the Find Function and displaying the records in The Find Grid.
- Visits helps you to track and schedule when someone in the congregation is visiting or is visited by another person.
- Transfer
Attendance
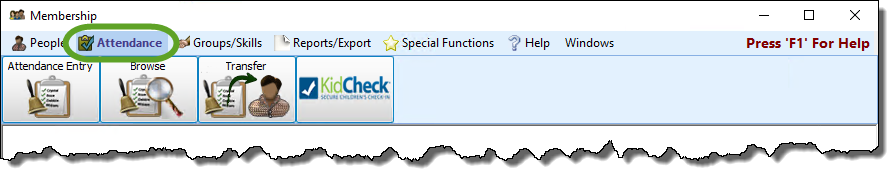
From the Attendance menu, you can perform Attendance Entry and Browse Attendance records for people, Events, and Groups / Classes as well as Transfer Attendance from one person to another. Additionally, you can synchronize Church Windows with our partners at KidCheck if you subscribe to their service as well.
Groups / Skills

Here, you have options to Set Up Groups and Classes and maintain a list of Skills. Once setup, Managing Group Members using Assign Groups & Skills and Managing Skills / Interests using the Assign Groups / Skills Screen allows you to add individuals in The People File to the applicable Groups / Classes and Skills. Additionally, you can use the Advance Groups / Classes function to "graduate" one class to the next.
For example, you can move the entire roster of each of your Sunday School classes from one age group / grade level to the next.
Reports / Export
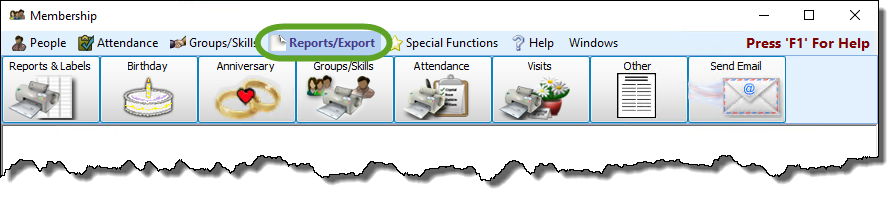
These options let you create and print a variety of Reports / Directory / Exports, Labels, Birthday and Anniversary Reports, Attendance Reports, and Visits Report, as well as Export reports in various file formats and even Send Email.
Special Functions

These options allow you to adjust the default Membership Settings, Advance School Grades recorded on The Individual Record, and Advance Groups / Classes from one level to the next.You can Create a CASS/NCOA file or Import your Output from Lorton to verify the addresses in your database for Bulk Mailings. Additionally, you can Customize Fields in The Family Record and The Individual Record to store all of the information you need. Finally, you can view and customize various charts and graphs on the Membership Dashboard.
Help and Windows
The final two options in the Button Bar across the top of the screen are Help and Windows.
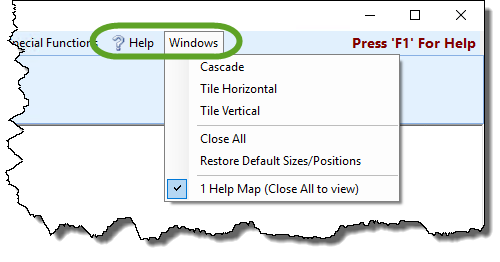
? Help is a quick link to bring you to these help files. You can also always press F1 on your keyboard to go to the specific area of these help files relevant to the screen where you pressed the F1 key.
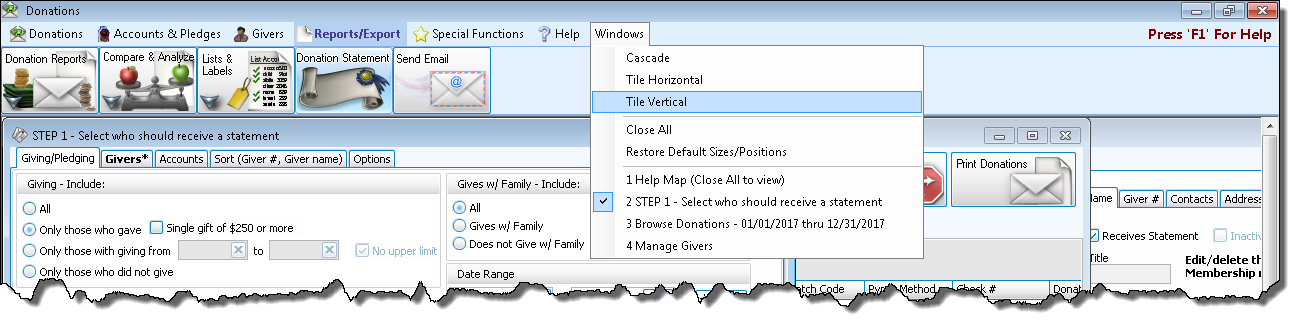
The Windows dropdown menu is divided into three sections which allow you to adjust how your windows or screens appear in the current Module. These options are quite handy when multitasking with various functions in the software.
- The first section provides three choices for arranging the current set of open windows:
- Cascade
Displays the windows in a staggered formation, starting in the top left corner and continuing down and to the right in small increments: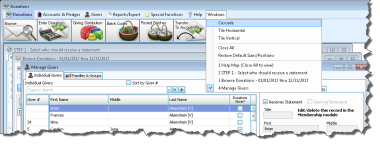
- Tile Horizontal
Displays the windows stretched horizontally, stacked top to bottom: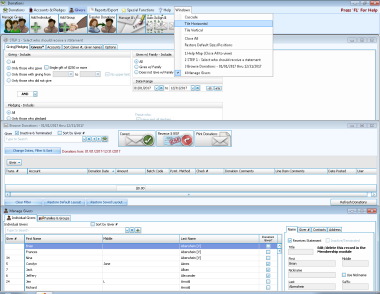
- Tile Vertical
Displays the windows stretched vertically, arranged side-by-side: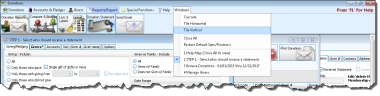
- The middle section in this menu includes two functions:
- Close All — This will close all open windows in the current Module (useful for functions that require you to close all other windows).
- Restore Default Sizes/Positions — This choice will Restore screens to their original size and position
- The bottom section contains a list of each of the windows that are currently open. Clicking on one of them will bring that window to view in front of the other open windows.