Visits
Church Windows is capable of keeping track of all visits and personal contacts made with individuals in
The People File. You may record the date of the visit, who made the visit, the purpose of the visit, a date for any follow-up, and any additional comments. Using this information, you can also create
Visits Report based on any combination of this data.
To access the Visits screen:
- From The Initial Portal of Church Windows choose Membership, then either:
- Choose Visits from the
.
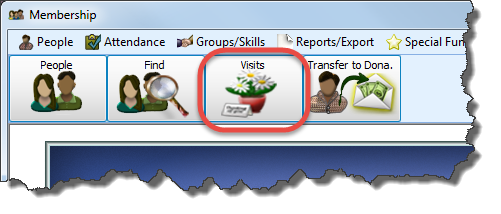
- Click Visits in the Button Bar at the top of the screen
- Choose Visits from the
.
-
The Visits screen will appear:
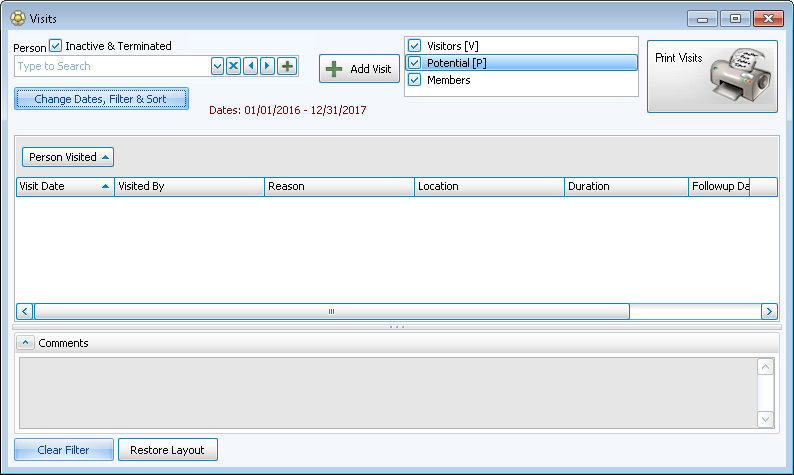
This screen is similar to the Browse Attendance screen, but more basic.
- At the top of the screen there is the Person field with a
 dropdown to find the people being visited.
 - The
 button clears the field.
 - The
 Add button allows you to add a new person.
 - The right-facing arrows scrolls through the people toward the beginning of the alphabet, while the left-facing arrow scrolls toward the end of the alphabet.
- Whomever is selected here determines what shows in the main Person Visited field below. If no one is selected then the Person Visited field will have everyone in The People File.
Note:
To change the setup and configuration of the
Visits screen, click on the Change Dates, Filter & Sort button and choose the desired options to
Filter the Visits Records.
 Add a Visit
- Click the + Add Visit button to open the New Visit screen and add new visit information.
- It will bring up information related to the individual selected in the Person field, or it will be blank if no one is selected:
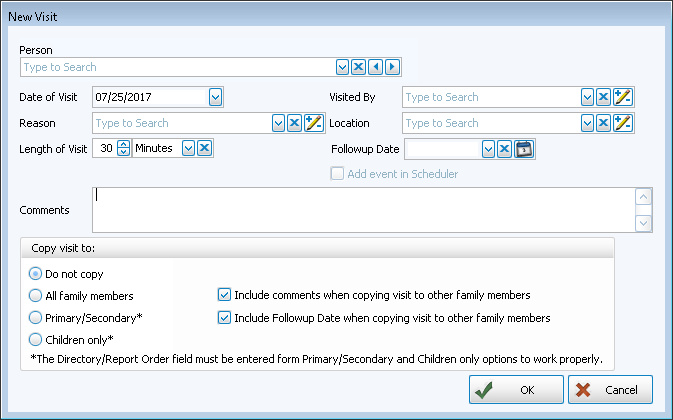
- Person
Here again, there is a person box in the upper left to make your selection by either using the dropdown or just starting to type in a name. (There is an Inactive checkbox above the Person field. If this is not checked, then you can only find people who do not have an Inactive Reason filled in on their record.)To add a new personClick the
Add button at the end of the Person line to open the Add Individual window: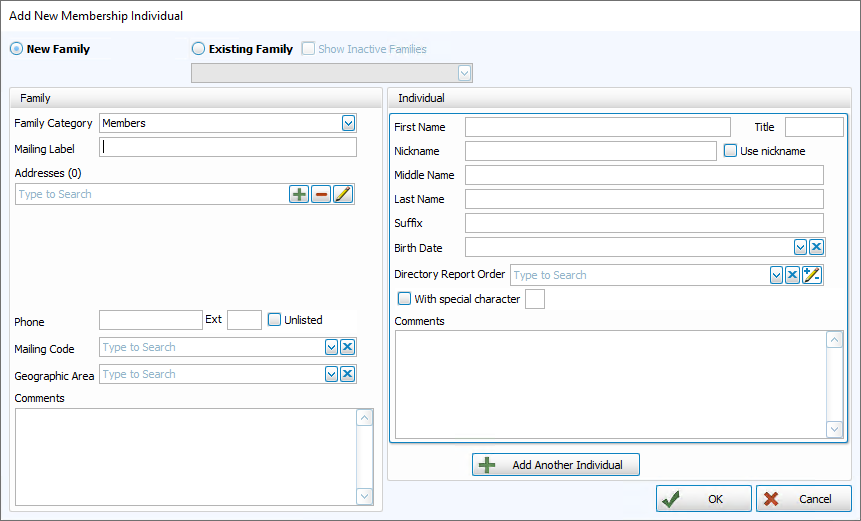
- If this person is NOT a member of any other family already in
The People File:
- Click the New family
 radio button to select it.
 - Select one of the Family Categories into which you want to enter the new person.
- You may then type the family information into the left side of the screen.
- Click the New family
- If the person IS a member of a family already in
The People File:
- Click in the Existing family radio button to select it.
- A list of all of the households in the database will appear in the dropdown.
- Scroll through the list to find the appropriate family.
- Click the family name once to select it, and that family's information will appear in the Family information section of the screen (you may edit this information if needed) on the left.
- Click in the Existing family
- Enter the new member's information to the Individual information section of the screen on the right.
- Click OK to save the record to The People File or click Cancel to discard this record.
OR
- If this person is NOT a member of any other family already in
The People File:
- Date of Visit
Enter the date that this visit occurred (Use a MMDDYYYY date format WITHOUT slashes.) - Visited By
Click the dropdown button:
- If the person who made the visit is listed in the box, then click that name/title to enter it into the Visited by field.
- If the person who made the visit does not appear in the list, or if this is the first time you are entering a visit and the field is empty, click the
 edit button and the Visited
by dialog box will appear where you can add or remove people from the
Visited By list.
edit button and the Visited
by dialog box will appear where you can add or remove people from the
Visited By list.
- Reason and
Location
These are also List fields. As explained above, you can either use the dropdown to select predefined options or click the Edit button to add new ones. - Length of Visit and Followup Date
Fill in, if desired. - Add Event in Scheduler
This visit can be added to the calendar in the Scheduler Module by putting a checkmark in the box.
 - Comments
You can then add a comment in the field below if needed.
- Copy Visit To —
Use this field to copy to the individual or also to different family members. You have the option to copy the visit to:- All family members
- 1 — Primary /2 — Secondary members
- Children 3 — Child (w/family) only
- If you choose to include the visit on other family member records, you can also elect whether to include the comments and follow up date on the other family member records.
- Click OK and the visit will be added to this person's record.
- Continue adding visits in this way if you like, or click Cancel to return to the Visits screen.
Delete a Visit
- At the main Visits screen, make sure that the correct person's visits record is showing by selecting them in the Person field at the top left.
- The selected person's visit records will appear below.
- Click the
 expand button to the left of each row to view details (when expanded it will become a
  collapse button).
 - Click on the
 Delete button on the far right of the visit to be deleted:
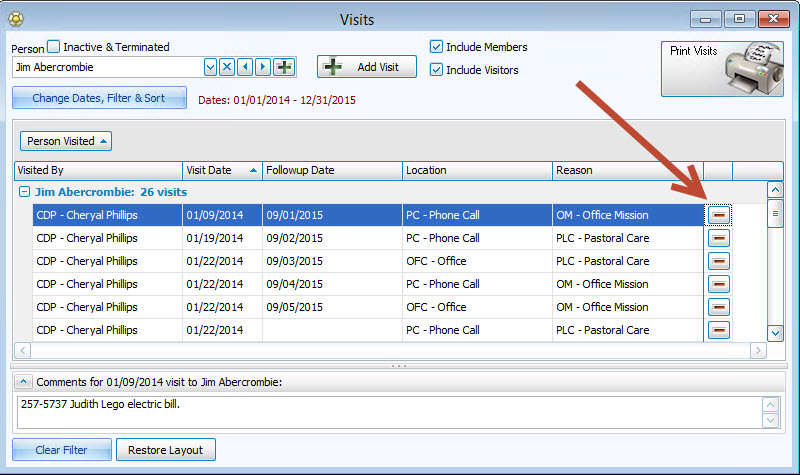
- If a visit had been added to other family members’ records, the visit will only be deleted from the record that is being viewed.
Edit a Visit
Once you have entered a visit for a specific person, you can edit any of that information directly from the Visits screen.
- Select the visit you wish to edit so it is highlighted.
- Once highlighted, you can click directly into the
Visits Record Fields in that row to edit, either by using the dropdown to change, the X button to clear, or the Add/Edit/Delete button to modify entry choices, as needed.
- Your changes will be saved automatically when you close this screen.
