The Individual Record
In Church Windows Membership, the Individual record contains all of the information that pertains to one specific person. It is possible to change or update this information at any time as needed, by simply making the necessary change(s) in any Individual Record Fields. Changes are saved automatically as they are made, however there a Save button you can click if it makes you feel more secure.
To access the The Individual Record screen:
- From The Initial Portal of Church Windows choose Membership
- From the
in the center of the screen, choose People
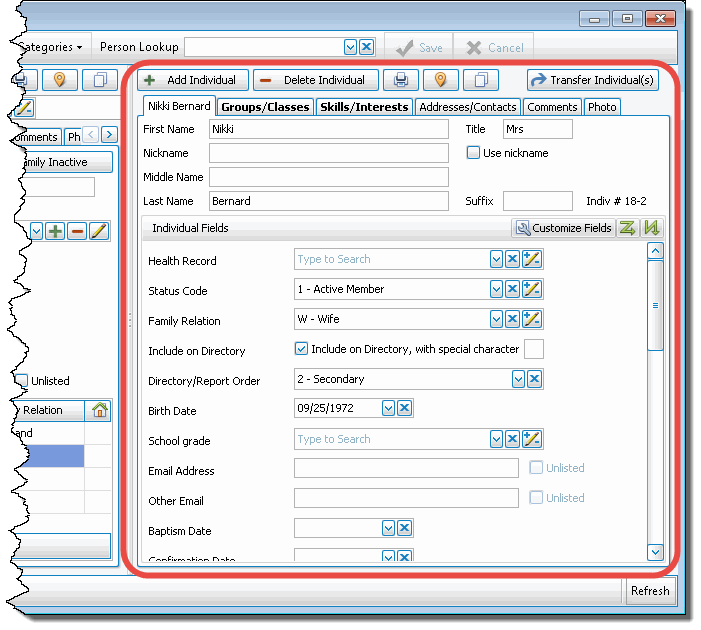
- The Individual Record Fields are on the right side of the People screen:
 Add an Individual
Add an Individual
- Make sure that The Family Record that appears on the screen is the Family that the new person belongs to. If the appropriate family/individual record is not open, bring it to the screen using Person Lookup, the Prior and Next buttons, or Using the Find Function. If the family is not yet in the database, first Add a Family, even if you are just adding a single person they must have a family record.
- Click the + Add Individual button.
- Enter that person's Individual information.
Note:
If you enter a First and Last name which are exactly the same as an existing person in your database you will receive a warning including the Family Number and Mailing Label of the existing person. It will ask you to confirm if this duplication is intentional. For example: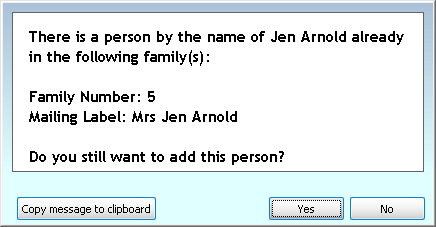
- The information you enter will save automatically when you navigate elsewhere, however, you can also click the Save button.
- Click Cancel to discard your input.
- To add another individual to this Family, select + Add Individual again, or select + Add Family to Add a Family.
Note:
It is possible to Transfer Individual(s) or Link another child to this family. There is never a need to create a new record and delete the old one nor create multiple records for the same person.
Delete an Individual
Caution!
Deleting an individual permanently removes that person’s records from your database. Once you delete a person, there is no way to recover the information their record contained. If the individual has left your organization, you may want to Inactivate Records instead.
Delete an individual's record
- If the appropriate family/individual record is not open, bring it to the screen using Person Lookup, the Prior and Next buttons, or Using the Find Function.
- Click the — Delete Individual button.
- Church Windows will show a confirmation screen:
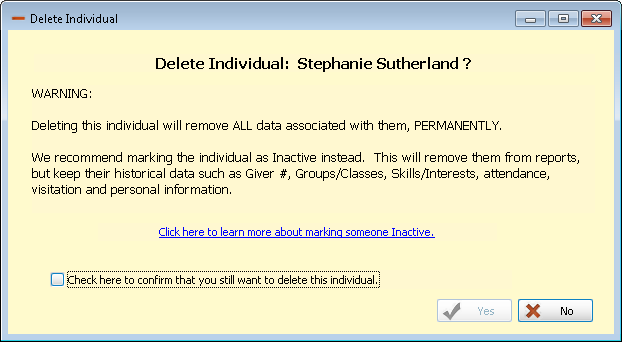
- Click Yes to delete that record, No to cancel the deletion.
Note:
Church Windows will not allow a record to be deleted if there has ever been any giving credited to that individual (or family) in the Donations Module, therefore if a donor terminates their membership, you must either Inactivate Records or Make Family Inactive if you wish to remove them from the active data.
Again, keep in mind that it is not necessary to "delete" a person to keep them from appearing on
Reports / Directory / Exports or
Labels. If a person who passes away or leaves the
Church is deleted as soon as they leave, then you will not be able to use
Church Windows to create your end-of-the-year reports that need to know how many people left the
Church during the year. A better way to remove these people from your system is to
Inactivate Records by marking them Inactive, assigning them a code in their Inactive Reason field, and entering an Inactive Date.
Print, Map, or Copy Individual Info
-
 Print
Print - Clicking this Print button will give you three choices: Report, Labels, or Email.
- Each will take you to the respective settings options.
- Once you have made all of your desired selections, either:
- Click Print to view a Print Preview and then proceed in sending the report or labels to your printer
- Click Export to save the file
- Click Send Email
-
 Map Address
 -
 Copy Address
If you would like to print information for this person only, for example you'd like just one quick label, then click the small printer button to the right of the add and delete individual buttons:

This will take you to the internet to Create Maps from Addresses for the Family or Individual using any of the addresses in their record.
The Copy Address button allows you to copy any of the addresses for the Family or Individual to paste into another location, document, or application on your computer.
Transfer Individual(s)
There may be times when an individual record needs to be moved from one family record to another.
Examples of this situation might be a young adult moving from their parents' house and into their own family, or a young couple who gets married and begins a new family.
Transfer an Individual’s record to a separate family
- If the appropriate family/individual record is not open, bring it to the screen using Person Lookup, the Prior and Next buttons, or Using the Find Function.
- Click the Transfer individual(s) button:

- The Transfer individual dialog box will appear:
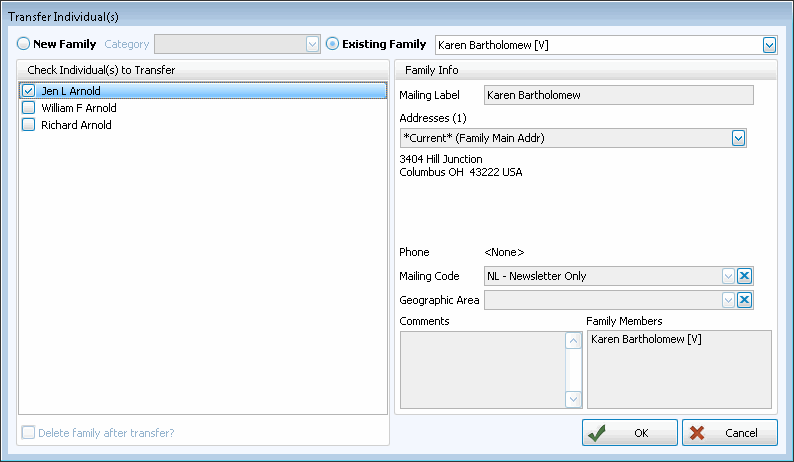
- A list on the left side of the screen will contain all of the individuals in the family that appeared on the screen in
The People File. If you are transferring only selected individuals, put a
 checkmark next to the names of the people you wish to transfer.
 - Click the
 radio button to choose whether this person / these people should be entered as a new family or as an addition(s) to an existing family:
 - Existing Family
Choose the appropriate existing family from the dropdown list by scrolling through the names or typing the desired name. - New Family
Enter the information for the new family by first choosing a Family Category in the Family Info area then typing in the Mailing Label, clicking the to enter an Address, and any other information you wish to add now (more can be entered later).
- Existing Family
- Click OK to transfer the individual(s), or click Cancel to cancel these changes and return to The People File screen.
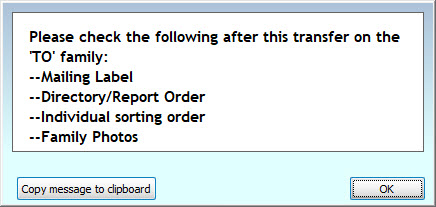
- When transferring to an existing family, a screen will pop up confirming the transfer and recommending a few fields that may need to be edited on the family records to ensure all information is accurate: