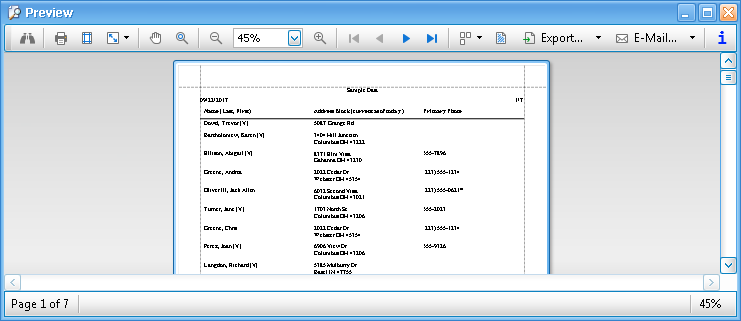
Print Preview
Throughout Church Windows whenever you click the "Print" button it will always take you to a preview screen so that you can see what the document will look like, before you actually print it out. Across the top of this screen is a toolbar where you can choose the final formatting options for your report.
From left to right these buttons are called:
Search, Print , Page Setup , Scale , Move , Magnifier , Zoom , First, Prev, Next or Last , Pages , Watermark , Export , Email , and Info

Used to find a particular word or phrase
in the document: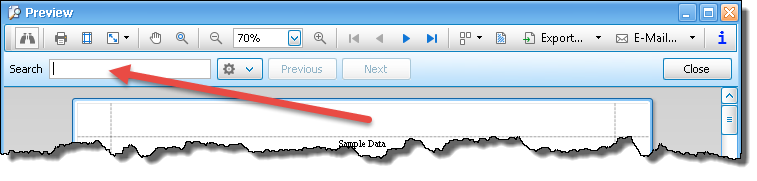

Click this button when you are ready to send the document to your printer. You will see a screen
that allows you to choose your printer and number of copies and page range as well as a button to access the Preferences for your specific printer. If you have more than one printer available to
you (as in a network setup) you can select a different printer from
that screen by clicking the Printer Name  dropdown:
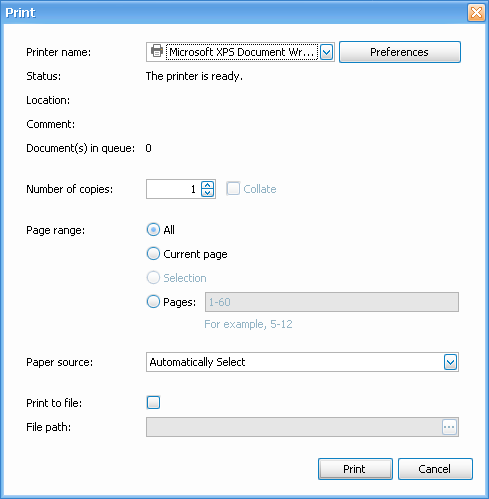

Click Page Setup to adjust paper size, page orientation, and/or margin settings. The Page Setup dialog box will appear:
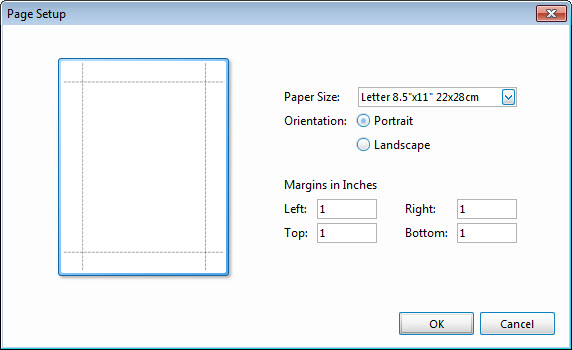
- Paper Size
If your printer supports multiple paper sizes, you will see the available options in the dropdown list. Make your selection by clicking on the dropdown button, then clicking on your choice. - Orientation
Choose between portrait or landscape using the radio button.
 - Margins in inches
You may adjust the left, right, top or bottom margins, if you wish. - Click OK to close the Page Setup dialog box and keep your changes, or click Cancel to close the box and discard your changes.

Click to adjust the size of the report on the page when you print it. You can scale up or down by percentage or you can set it to print more than one page of the report per piece of paper: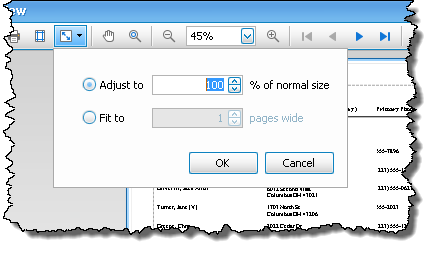

Click if you would like to be able to move around in the page with your mouse (click, hold, and drag the hand to move around the page). This is simply a different way to navigate around on the preview page, you can also use the scroll bars if you like.

This button allows you to switch back and forth between viewing the preview at 100% and another Zoomed percentage that you set (see Zoom below).

These buttons allow you to zoom in or out on the preview of the document. You can either click the + In or — Out buttons or click the down arrow on Zoom and choose a specific percentage of zoom.

Click any of these buttons to skip to other pages in the preview.

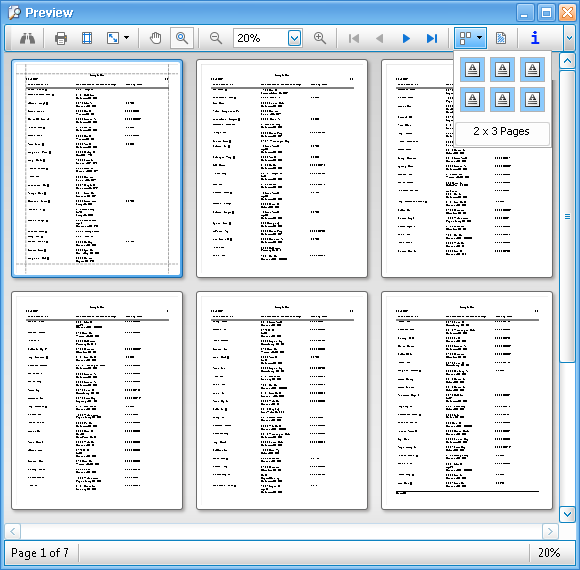
Click this button to change the number of pages being displayed at once
on the preview screen. The default is one page by one page. Hover your mouse over the number of pages you'd like to view, such as 3 pages side to side and 2 pages top to bottom:

This button allows you to add text or a picture to the background of the printed report.


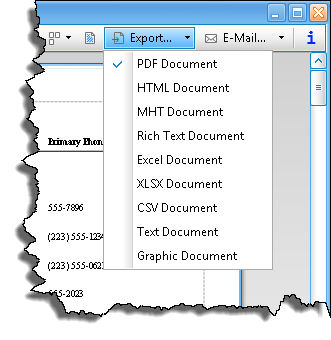
This button allows you to save the report in one of several standard formats for use in other programs. Click the down arrow to choose the file format you would like to Export to. The type of file you choose should be determined by the other software with which you want to use the data. You will then see a form that allows you to adjust the settings, if needed, and then choose a name and a location for the file.

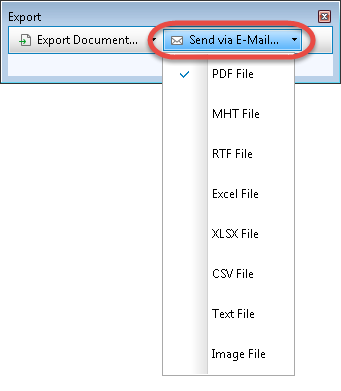
This button will convert the report to one of several file formats and attach it to an external email, such as Outlook or another 3rd party email client installed on your computer. Click the down arrow to choose the format you would like it converted to. (PDF file format is a very common way to send reports via email.) You will be asked to name the file and choose a location for it to be saved. When you click OK, it will create the file and attach it for you to Send via Email.

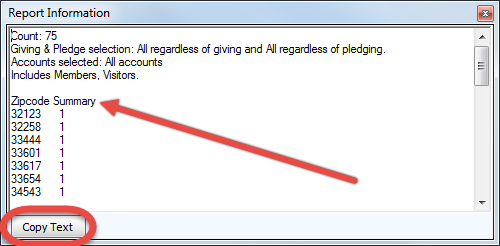
This button is a quick way to get Report Information including a count of how many total items are on the whole report as well as a breakdown of the criteria you used for creating the report itself (this information is also displayed at the very end of most Membership and many Donations reports):
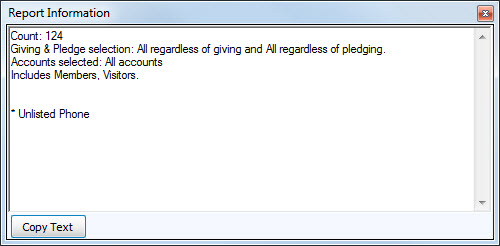
When printing Labels, this will also contain a Zipcode Summary which can be copied and then pasted into another program, if needed: