Membership Settings
Here, you can adjust and confirm all of the settings pertaining to the Membership Module. In prior versions, this used to be called the " MembershipProfile".
To access the Membership Settings screen:
- From The Initial Portal of Church Windows choose Membership
-
Then,
in the Button Bar at the top of the screen, choose Special Functions:

- Select Settings:
The button in the bottom left labeled "Reset all screens to default size and location" will restore the original size and position of all the screens in Membership. This is very useful if you can no longer see certain parts of windows, if buttons are missing, or if entire screens do not open as they should when you click a button.
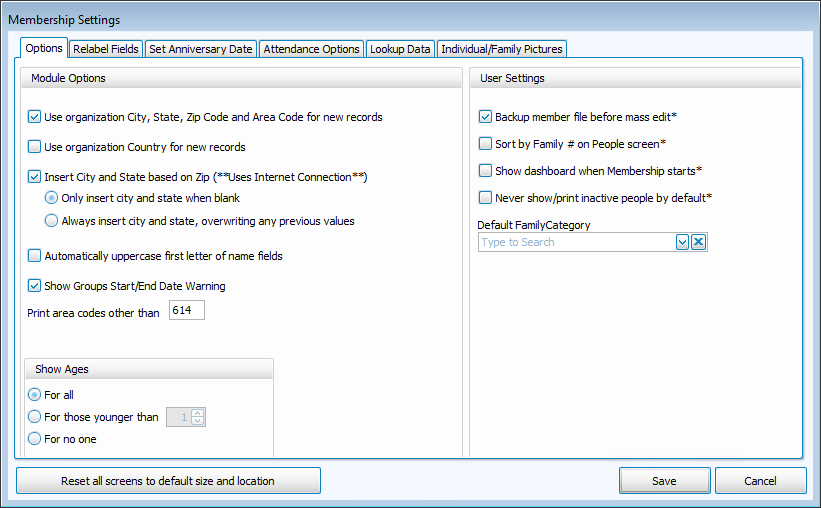
 Options tab
Module Options
Use organization City, State, Zip Code and Area Code for new records
You have two different options for copying information into new family records from the Organization Info you initially entered into the System Information. If you want the City, State, Zip Code and Area Code for your organization to be used for new records, check the first box. When adding a new family, you may accept this city, state, zip code, and/or area code or you can enter new ones. Having the system automatically enter these fields does not require you to use them.
Use organization Country for new records
If you want the Country for your organization to be used in new records, check this box. When adding a new family, you may accept this country or you can enter a different one.
Insert City and State based on Zip (**Uses Internet Connection**)
If you would like Church Windows to expedite your data entry process by automatically populating the City and State fields for an address based on its Zip Code, check this box and then use the
radio button select either:
- Only insert City and State when blank
- Always insert City and State, overwriting any previous value
Remember, you must be connected to the internet in order for tool this to function.
Automatically uppercase first letter of name fields
Another data entry aid, check this box to capitalize the first letter entered into any of the name fields.
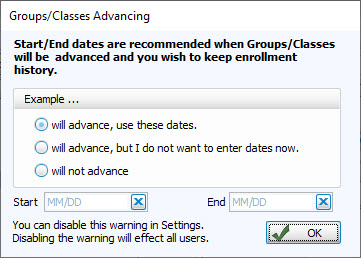
Show Groups Start/End Date Warning
If your Groups or Classes will be advancing and you wish to maintain historical records of past group enrollment, it is recommended that you enter Start/End dates. If you do not enter dates the system will display a message recommending that you do so:
To hide this warning uncheck the box or, if it has already been disabled, check the box to turn the warning back on.
In this box you can type your local area code to prevent if from printing, if desired (otherwise leave it blank). In running any Reports / Directory / Exports, Church Windows will then automatically print only any area codes that differ from the one you entered in this box. If you live in an area that includes many area codes and you would like everyone’s area code to print on everything automatically, then leave this box blank.
This option controls the Family Members section at the bottom of The Family Record. Use the
- For All if you would like to display the age for everyone.
- For those younger than and enter the age into the box that follows if you would like the age to display for only those under a certain age.
- For no oneif you would not like the program to display any ages.
This selection does not affect any Reports / Directory / Exports based on ages. Keep in mind that in order to accurately display an age (or to create reports based on age), the system requires a complete birth date to be entered into the Birth date field on The Individual Record.
User Settings
Backup member file before mass edit*
For safety’s sake, we strongly recommend Making a Backup anytime you make changes to your data that you would not want to lose. If you would like the system to back up the database for you before you perform a Mass Edit, mark this box on this screen with a
checkmark. That way, if you perform a Mass Edit in error, you then have the option of Restoring a Backup to effectively undo the Mass Edit. If this box is empty, you will not have this option.
Sort Order on People screen*
The default order of the families in The People File will be alphabetical by the last name of the 1 — Primary individual in each family. By checking this box, the records can be sorted by their Family # which is automatically assigned by Church Windows when they were entered into your system.
Show dashboard when Membership starts*
Check this box if you would like the Membership Dashboard to open as soon as you open the Module.
Never show/print inactive people by default*
Check this box if you want to automatically hide Inactive records from The People File and Reports / Directory / Exports. (See Inactivate Records for more information)
Default Family Category*
This allows you to choose one of your Family Categories (e.g. Members, Visitors, etc.) to be selected by default when you Add a Family.
Note:
The options which have an * asterisk beside, them are custom settings which are unique to each of your Users.
Relabel Fields
In The People File, you can Re-label Permanent Fields. These fields are Carrier Route, Geographic Area, Groups / Classes, Skills / Interests, Communion, City, State, Zip Code, Divisions, Departments, and Categories. Feel free to change any of these fields to suit your specific needs.
To change these field names:
- In the column titled Custom Label, click the field name that you would like to change; it will be highlighted.
- Begin typing the new field name or delete the name that is in the column using the Delete or Backspace keys.
- Enter the new name.
- The changes will be saved when you move the cursor to another area of the screen or when you click Save.
These are global changes which will affect all Family Categories.
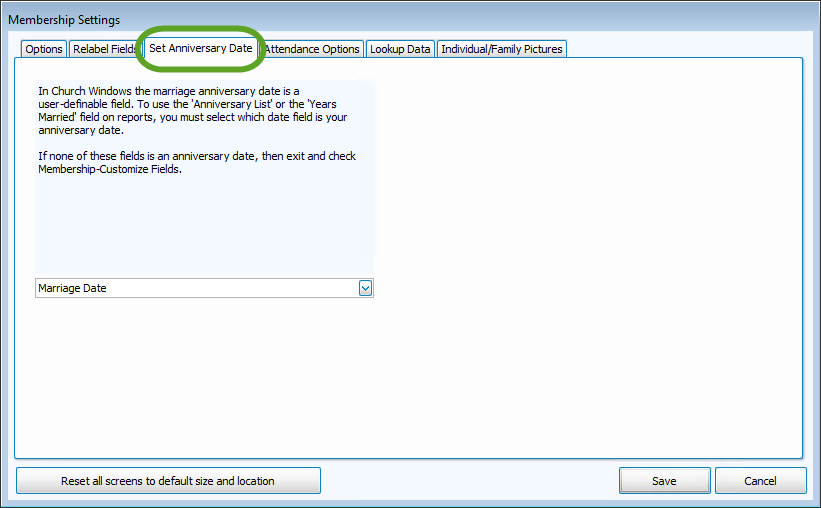
Set Anniversary Date tab
Choose which field from The Individual Record contains the date you wish to use to compile Anniversary Reports and calculate the number of Years Married (if a year is included in the date). This is set to the Marriage Date field by default but can be changed here if you have an alternative field you want to use.
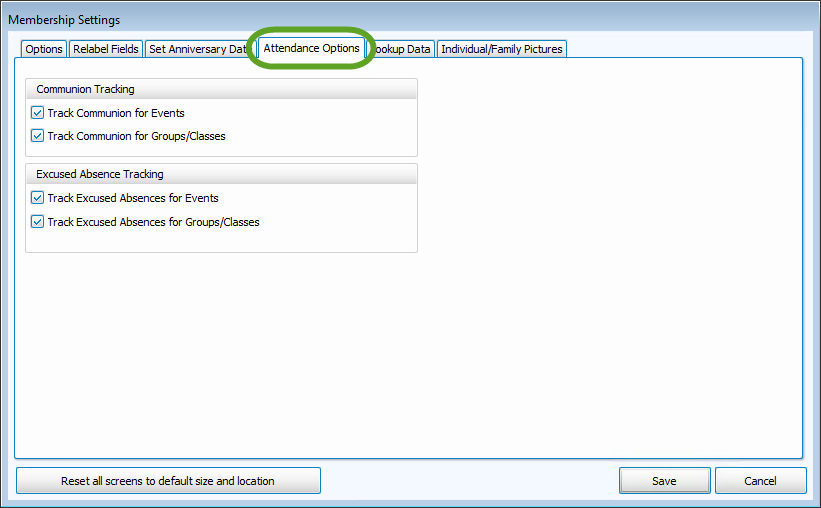
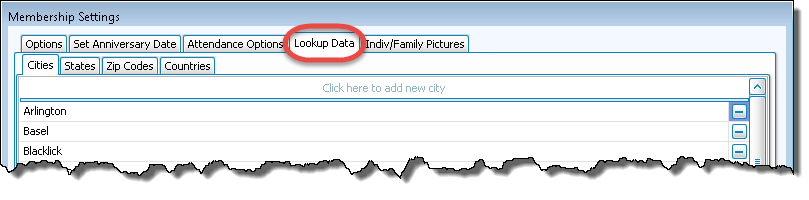
Lookup Data tab
Each time you enter a family record with a different City, State, Zip code, or Country this new data is automatically added to a master list for that field. These lists will appear when you begin to type information into these fields, or when you click the arrow to the right of the field. You may wish to delete duplications or outdated items, since every new item that you type into these fields is automatically added to the lists. This List Maintenance can be done here in Settings or from the actual fields themselves in The People File.
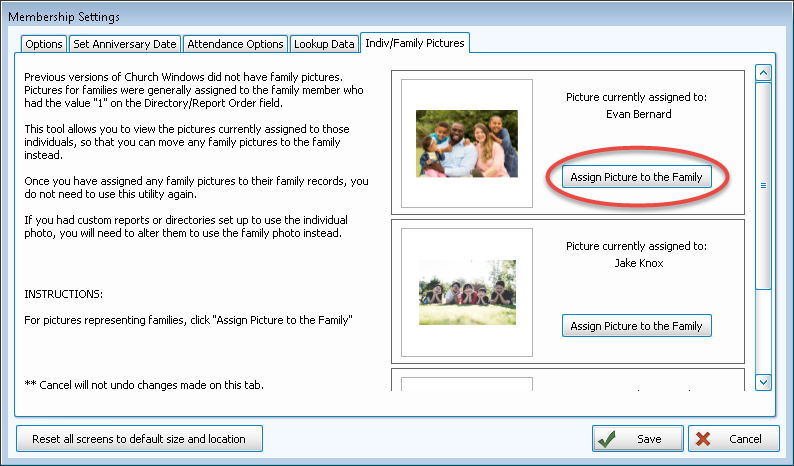
Indiv / Family Pictures tab
New users can completely disregard this tab. In the past, you were only able to store individual photos and the one assigned to the 1 — Primary person was used in pictorial Directories. Church Windows now allows you to add a photograph to The Individual Record and The Family Record. Use this tab if you need to re-assign photos from the individual to the family.
- First, read all of the information on the left side of the screen.
- Then, scroll through the list of photos on the right.
- Find those that should be assigned to the Family instead of the Individual.
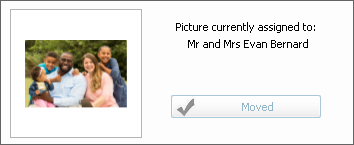
- Then click the "Assign Picture to Family" button for each photo you need to move:
- The button will then turn gray and say "Moved":
After you have finished making all of your changes to the Settings screen, either click Save to preserve your changes and close the screen, or click Cancel to close this screen and discard any changes that you have made.
