Step 1: Set the Accounting Year
The first step is to define the
Accounting Year, or fiscal year, by entering the month on which it begins in the current year. The
Chart of Accounts, the
Budgets and Budget Projection amounts, and the
Transactions you save and post to the accounts are kept track of in an
Accounting Year that must be set up and managed from one year to the next.
Anytime during your currently active
Accounting Year, you can set up the new
Accounting Year and begin working in it long before the current year is finished. You can then move back and forth between the years, continuing to record transactions in the current year while working to get the next year ready. This can also be changed later, if needed, using
Manage Years.
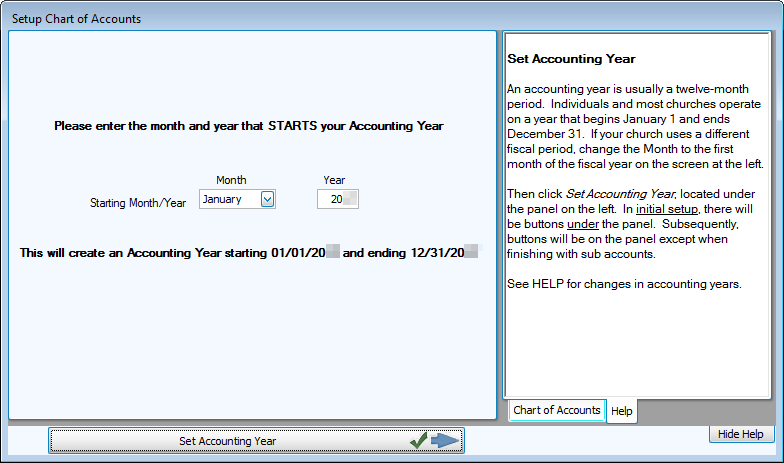
- Review the Starting Month / Year to make sure that it matches the fiscal year applicable to your Church.
- To change the current setting of the Month, click the
 dropdown button next to the box that reads "January", and click the desired month from the list that appears.
 - Also, you can adjust the Year by removing the year currently showing and typing the desired year.
- Click the Set Accounting Year button to apply your settings.
- A message will prompt you that "This will create an
Accounting Year starting [on the first day of the chosen Month and Year] and ending [on the last day of the one-year period]." The message will also ask you "Is this correct?"
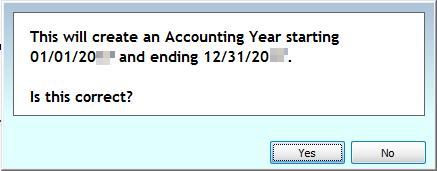
- Click Yes or No to answer the question:
- By clicking No, you will be given the option to choose a different month and year before proceeding.
- Clicking Yes will take you to the next step — Step 2: Decide Whether to Use Account Numbers.
