Visits
The Visits screen allows you to schedule and record appointments and follow ups with your congregation.
Common uses of the Visits screen include;
-
Tracking a welcome procedure for new guests
-
Scheduling follow ups on meetings or appointments
-
Viewing the visit history with a member
Access Visits
To access from the Button Bar, go to People > Visits.

To access from the Home Screen, go to the Quick Access Button.
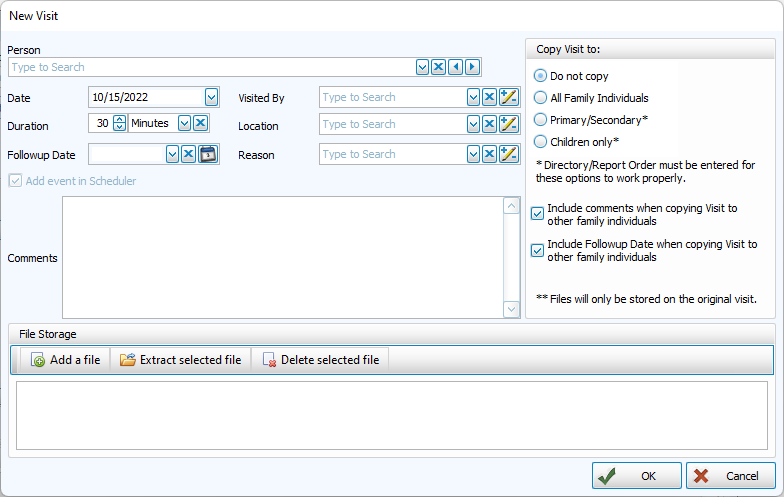
Add a Visit
-
Click
 .
. -
Select a person from the drop down field.

If you have brand new people who do not yet have a record, you can add them from the Visits home screen by clicking
 to Add an Individual from Another Screen
 -
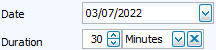
Enter the date and duration of the visit.
-
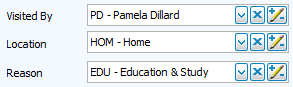
Provide details about the visit.
To edit the list field options, click
 to Manage Codes
 -
If needed, add a follow up date.
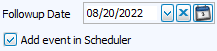
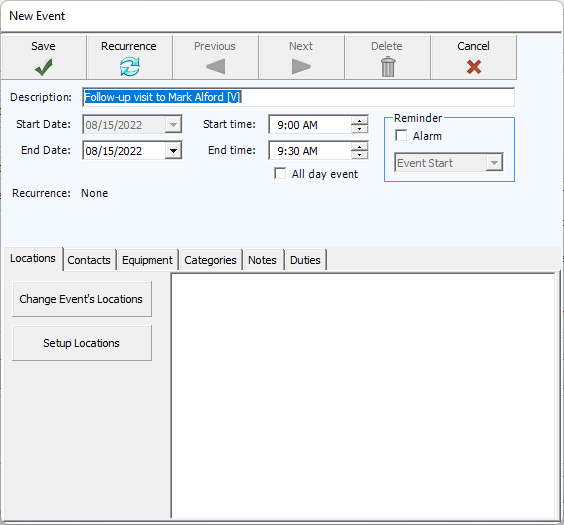
If you elect to add the follow up to scheduler, the New Event window will come up when you finish entering the visit.
-
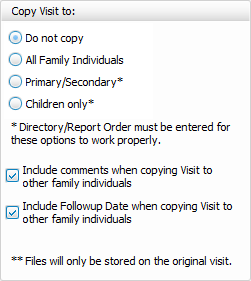
Copy this visit to other members of the household.
-
Add attachments.

-
Click
 to save your visit and exit. Click
  to exit without saving.
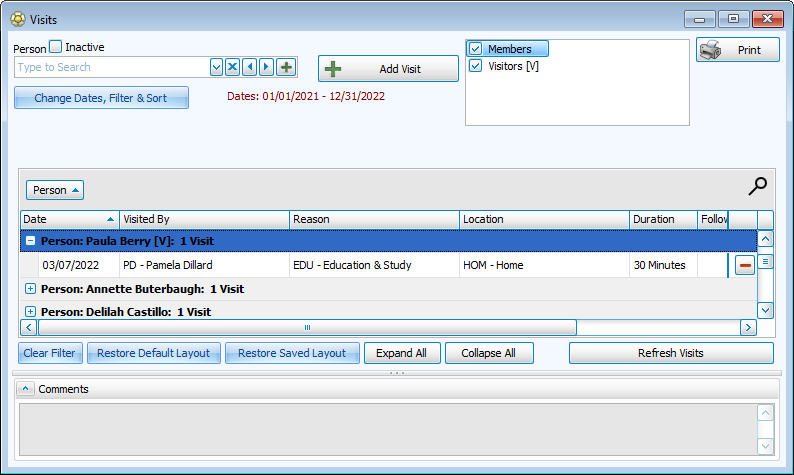
Browse & Report Visits
-
Visits are laid out in a grid. The default view groups and sorts by Person in the current year. Drag and drop column headings into the gray area above the grid to arrange and group information.

-
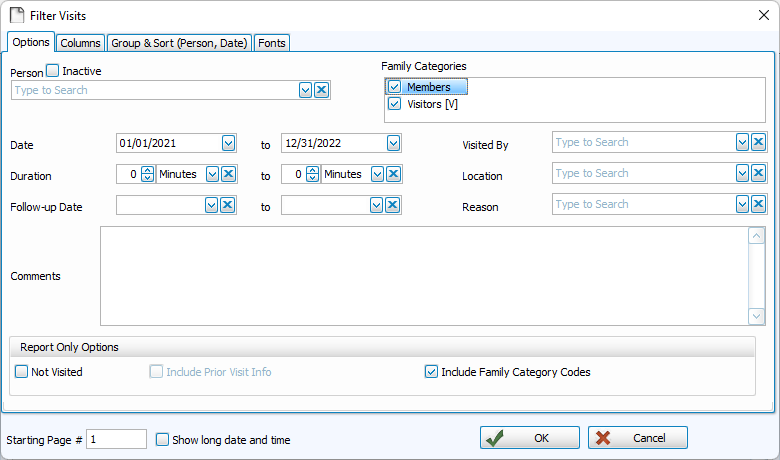
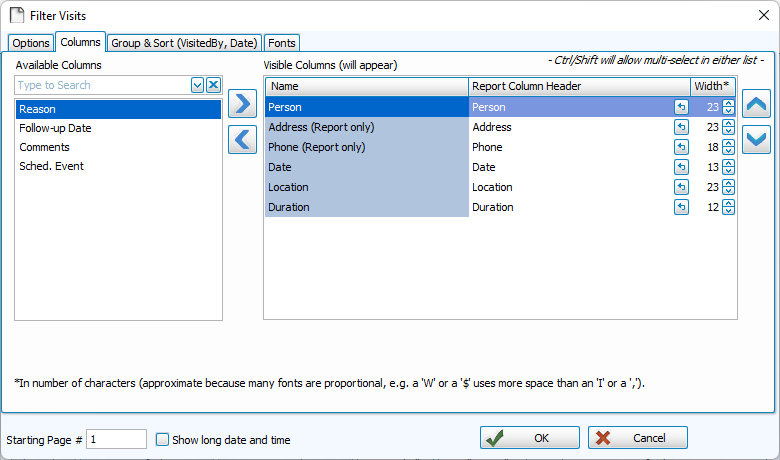
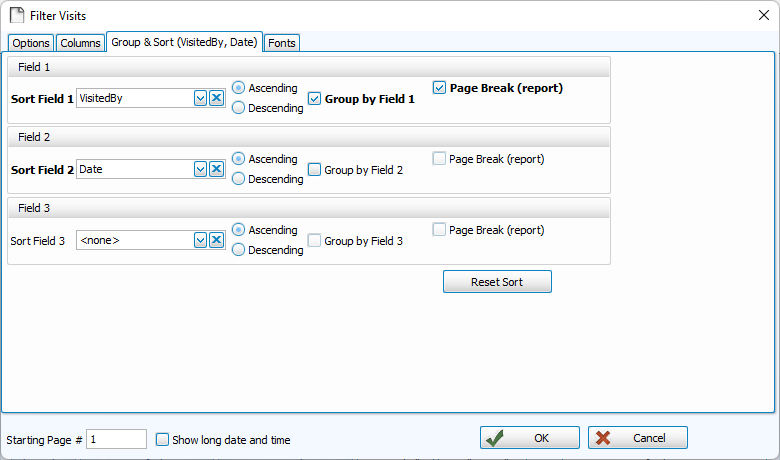
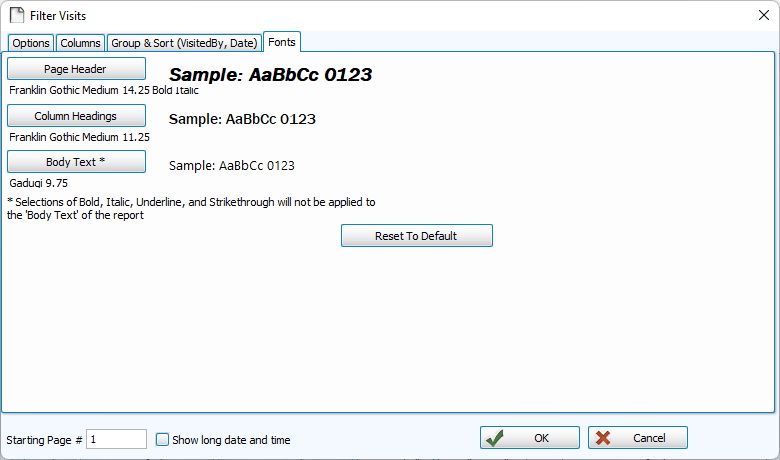
Click
 to change the date range, columns, and sort. You can also filter by any of the list fields. You can also set fonts for printing visit reports from the Browse screen.
 -
From the Filter screen, you can include Address and Phone Number, but these will only display on the report made by clicking
 . You can also generate a report of people who have not been visited.
Edit Visits
-
Browse to the visit you need to edit.
-
Change the information in the grid or comments section. If necessary, add columns with
.If the visit has been copied onto other family members, you have the option to save your change for one or all copies of the visit.
-
Changes are saved as you work.
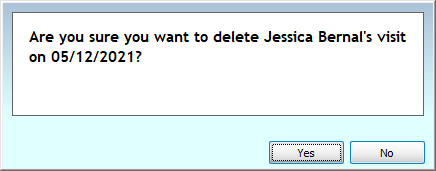
Delete Visits
-
Browse to the visit you need to delete.
-
At the end of the row, click the
 .
. -
Confirm your selection.