Accounts Receivable Statements
Accounts Receivable Statements can be printed at any given time with the use of the Print Statements screen. The screen first requires you to specify a set of Transaction Dates, between which the
Invoice Accounts Receivable was entered and/or collected. Then, you must choose the
Accounts Receivable Clients, and click the Print button to proceed with sending statements to your desired clients.
To view or print the Accounts Receivable Statements:
- From The Initial Portal of Church Windows choose Accounting
- Then, either:
- Then, click Print Statements.
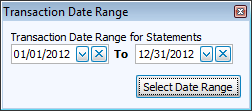
- When opening the screen you must first enter the Transaction Date Range and click the Select Date Range button:

- The Print Statements screen will open:
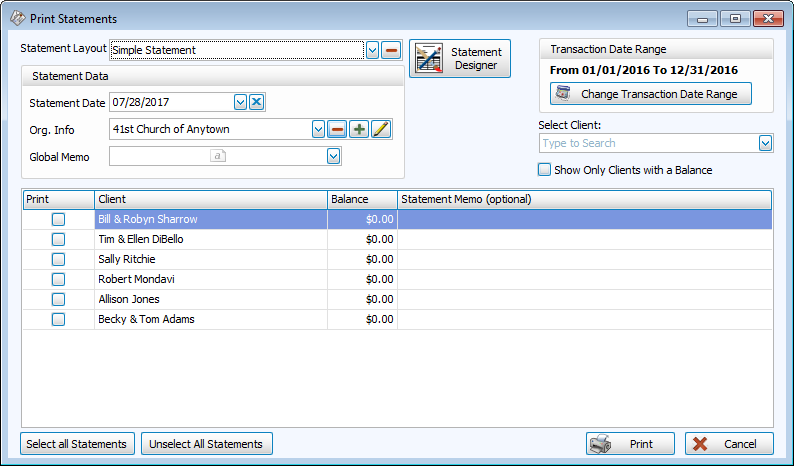
- Select the Statement Layout from the dropdown box, or click Statement Designer to use the
A/R Invoice and Statements Designer to design and save a new one.
The default layouts that come with Church Windows will all say [Template] and then the name of the layout. These templates cannot be modified or replaced, however they can be used as a starting point as long as you enter a new name when you save the layout. Any layout that you modify or create cannot have [Template] before the name of the layout.
- Statement Data
- Enter the desired Statement Date.
- Specify the Org. Info ( Organization Info ) you wish to use for your Statements.
- Enter a new message, called a Global Memo, or select a previously entered one from the dropdown if you would like to include a message on all Statements. (Alternatively, you can use the Statement Memo (optional) to include a personal message for one specific Client)
 Organization Info
Unless otherwise specified, the info used to print on your statements is automatically selected for you from the Organization Information stored in System Information in the Administration area of Church Windows.
To create additional sets of Organization Information to use on different sets of statements, click the
 Add button.
 Or, select an existing name from the Org. Info box and click either
 to change it, or
  to remove it.
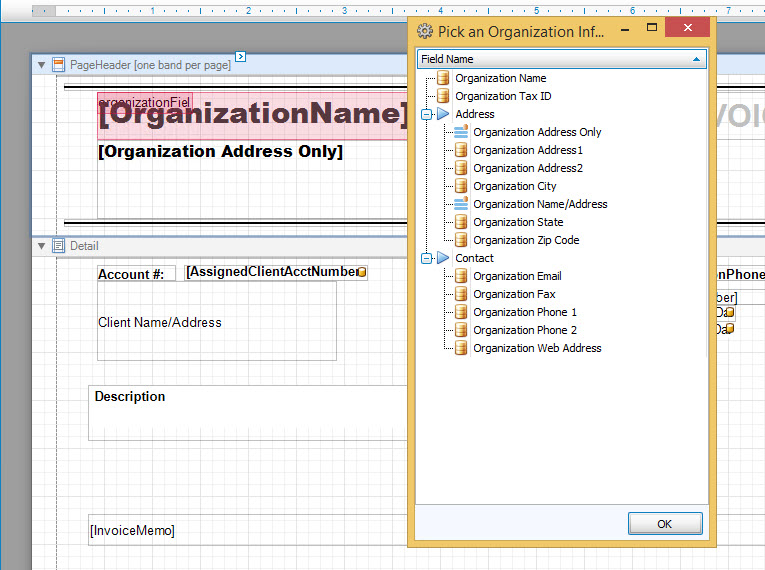
 To reposition or format the information, open the A/R Invoice and Statements Designer interface. Here, you can drag and drop the Organization Info field from the right, and when you let go of the mouse button, you can further customize which organization info fields and where you want them:
Note:
To move objects very precisely, you can hold down the CTRL key and use the arrow keys on your keyboard (←, ↑, →, or ↓) to move the object(s) very minutely. You can also hold the SHIFT key along with CTRL and the use arrow keys to either stretch or shrink the size of the object(s).Once finished, it will ask if you want to name the layout to access it later, and save it.
Note:
When naming a new report layout, keep in mind that you are creating a template which can be used for other reports with different data in the future, therefore names should NOT include specific dates or the search criteria you used to compile the report. Instead, the name should indicate what kind of information will be included in the report.Note:
If you wish the Statements to print the Statement Date and the Global Memo information, first make sure that the Statement Layout shows the Statement Date and Global Memo fields for the selected in the A/R Invoice and Statements Designer. - If you need to select a date range after entering the Print Statements screen, click the Change Transaction Date Range button in the top right and enter a different date range:
- In the list of Clients, click to place a
 checkmark in the Print box next to each statement you wish to print. You can click the buttons at the bottom of the screen to Select All Statements, or Unselect All Statements.
 - You can also use the Select Client box at the top right to individually mark the name of each selected client with a check.
- Type any additional information for each individual client under the Statement Memo (optional) column.
- If you wish to prevent clients that have a $0.00 balance from showing in the list, click to place a checkmark in the box labeled Show Only Clients with a Balance.
- There is another option on the
A/R Invoice and Statements Designer called Edit Detail Subreport:

- Selecting this will open up a new window to further allow you to customize the report. Here you can use the
Columns / Fields tab tab to select which fields you want to show, as well as the
Fonts tab to choose the background color, the text color, and the size and font style to be used.
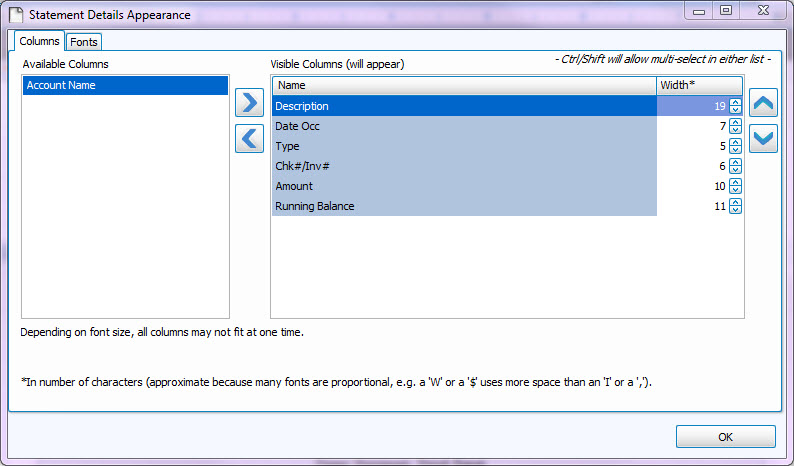
- Once these are all set, click on OK.
Once you have made all of your selections, click Print to view a Print Preview and then proceed in sending the file to your printer. You can also Export most reports and/or Send via Email as a file to be used outside of Church Windows.
