Pay Bills
Use the Pay Bills screen to process any kind of bill payments, including those applicable to bills previously entered in the software. Add each payment you wish to process to the Unposted Payments Batch list. Verify that the payment information is correct, and be sure that the payments you wish to post are marked with a check in the Pay Now box for the item. When finished, click a button from the options at the bottom of the screen to Print, Post or, Post & Print Checks for the batch items.
To access the Pay Bills screen:
- From The Initial Portal of Church Windows choose Accounting then either:
- Click Transactions in the Button Bar at the top of the screen then click Pay Bills
- Click on the Pay Bills button in the of the Accounting Module
OR

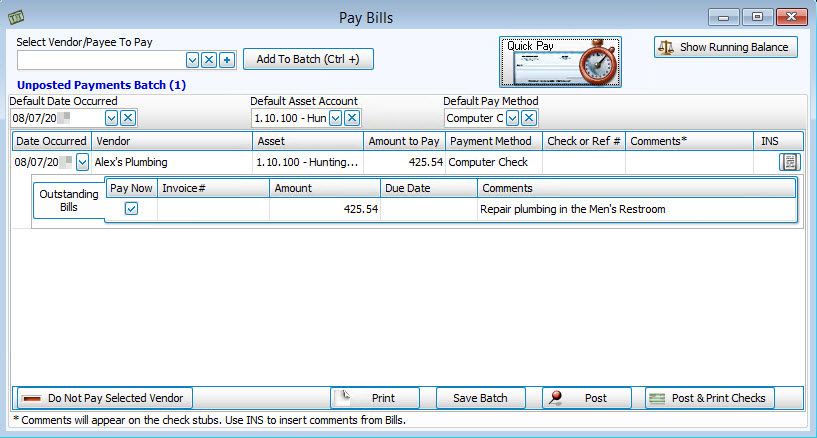
Before you begin posting your bills, be sure that a Default Date Occurred, Default Asset Account, and a Default Payment Method are selected from the boxes. If you change the selection from any of these boxes at any time after having added items to the Unposted Payments Batch, you will affect change in all batch items. Nevertheless, you can still change the Date Occurred, the Asset, and the Payment Method manually for each item you add to the batch list.
If you want certain settings to be selected before you open the screen, you can set them on the Accounting Settings screen under the Special Functions menu.
Note:
If you wish, click the Show Running Balances button on the upper right to show the balance of the items being added to the batch.
One way to process a payment is by using the dropdown box to Select Vendor / Payee to Pay. Once you select the desired vendor / payee, click the Add to Batch (CTRL +) button to add the payment information.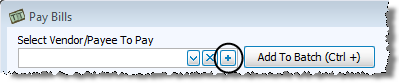
Note:
If you need to add a new payee, you can click the  Add button and add either the name, or more vendor details. Then press OK. payees can be edited on the Vendor / Payee tab in View Accounts.
A quicker and usually cleaner way to Pay Bills is to use the Quick Pay button and one of the following options:
- Pay Bills Entered Today brings up any bills entered today via the Enter Bills screen.
- View Vendors with a Balance from the window that appears to select your vendors and create payments.
- View Outstanding Bills from the window that appears to select your outstanding bills and create payments.
Verify the payment information for each item showing in the Unposted Payments Batch. Adjust the Date Occurred, Asset, Amount to Pay, Payment Method, Check or Ref #, and Comments as needed.
If you do not want to pay a vendor currently showing in the Unposted Payments Batch, click the line that shows the vendor and click the Do Not Pay Selected Vendor button.
Click the Pay Now box next to each item that represents a payment you wish to post in the current batch. Doing so will place a  checkmark in the box. Items without a checkmark will remain unpaid until the next time you decide to post payments. Click the button to Save the batch for use at a later time, and/or Print to print a listing of the items.
Post the checked items by clicking the Post or Post & Print Checks button. The automatically generated transaction number and the total dollar amount for the batch will display in a message asking you one last time if you wish to print the batch. Answer by clicking Yes or No. If you clicked Post & Print Checks, the Print Checks screen will appear.
Use the transaction number(s) in the message to look up the posted transaction(s) on theBrowse Transactionsscreen. Each transaction item in the batch will appear as a PYMT transaction.
 View Vendors with a Balance
When you are using the Pay Bills feature, first click the Quick Pay button. Then, click View Vendors with a Balance.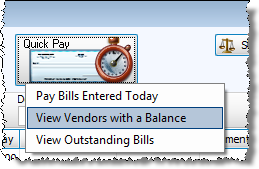
Use the View Vendors with a Balance feature to view Accounts Payable / Vendor balances.

If you wish to create payments for any of the listed vendors, click to check the box next to each vendor name. Click the Create Payments button to add the vendors marked with a check to the Unposted Payments Batch on the Pay Bills screen, where you can adjust, verify, and post the selected payments. Click on the Pay Now box to pay that specific bill.
View Outstanding Bills
When you are using the Pay Bills feature, first click the Quick Pay button. Then, click View Outstanding Bills.

Use the View Outstanding Bills feature to view bills that have been entered, but not yet paid. If you wish to create payments for any of the listed vendors, click to check the box next to each vendor name. Click the Create Payments button to add the vendors marked with a check to the Unposted Payments Batch on the Pay Bills screen. You can also click Print Outstanding Bills to print a report.

Here you can adjust, verify, and post the selected payments.
Note:
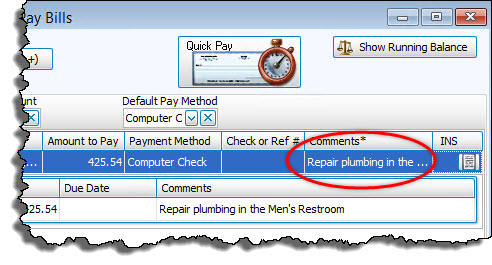
If you have more than one bill / invoice that needs paid, you can either pay them all with one payment by clicking on the Pay Now box, or split them into separate checks as needed. To only pay one bill or invoice in a separate check, you will need to simply put a check in the box to the right in the "Separate PYMT" column as circled in red below.
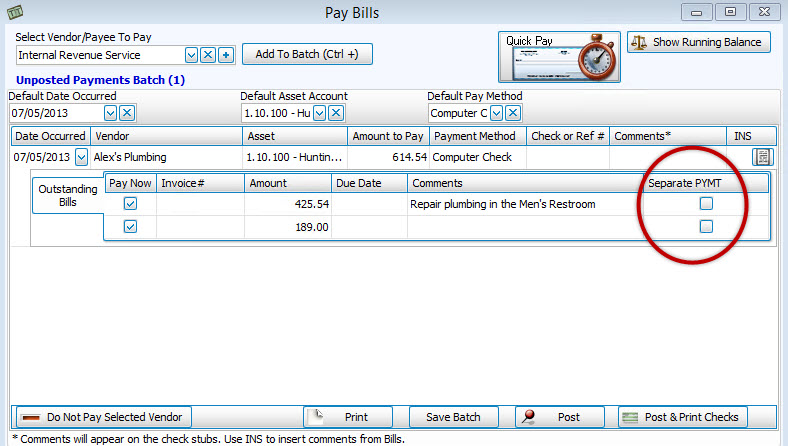
You can either select separate bills to pay, pay them all at once, or choose not to check any boxes at all and simply put amount in the Amount to Pay field at the top and keep the bills / invoices active for a later time. If you do not put a check in either the "Pay Now" or the "Separate Payment" boxes, you can still make a payment but the bill / invoice (s) will stay marked as unpaid.
INS Option
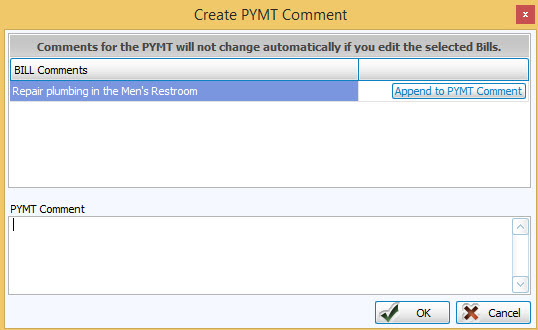
The far right column on this screen is labeled INS. If you are using the option to Pay Outstanding Bills, this will allow you to add bill comments to the payment. Click on this to open the screen with the available comments at the top, with an "Append to PYMT Comment" button on the right:
After clicking on the "Append to PYMT Comment" button, it will add the comment to the PYMT Comment below.
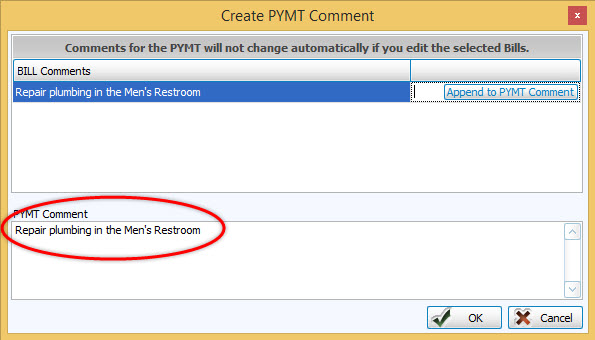
Doing this will add the comment to the PYMT transaction above for future reference.
Once you have made all you selections, there are buttons at the bottom to let you either Print the transaction details, Save Batch to post the transaction later, Post the transaction now and to print checks later if that is your payment method, or Post & Print Checks to print your check(s) now.
