Set Up Scheduler
Scheduler allows you to keep a calendar that tracks events, contacts, rooms, and equipment. Once you've completed the initial Setup process, you'll be able filter your display and create reports.
People
People who are designated as contacts in Scheduler can be identified as a point of contact for an event, location or piece of equipment. Up to 1000 people from Membership can be designated as potential contacts in Church Windows.
To see a list of the People you have linked as point of contact in Scheduler, go to Reports > People Report or click on  from the People Setup screen to produce a People Report. To update contact information, make changes to their Individual Record in Membership.
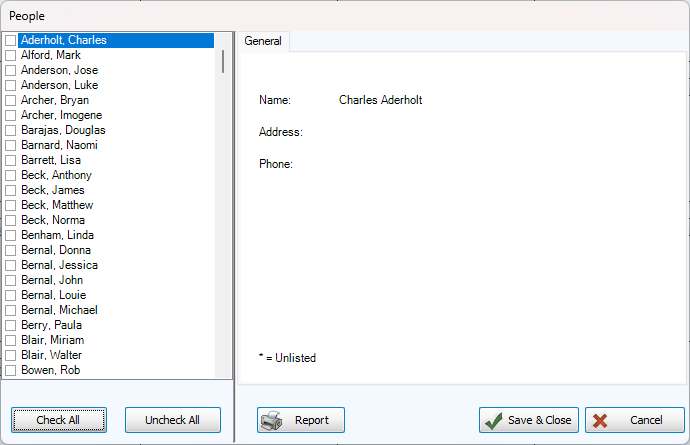
Add Contact People from Scheduler
-
Go to Setup > People
-
Check the name of the contact to be added on the left side.
-
To select everyone, click
 or deselect all with
  .
. -
Click
 .
.
Add Contacts from Membership

-
Go to People.
-
Locate the Individual Record of the person to be added.
-
Check the 'Show in Scheduler' check box in the individual record.
Locations
Locations are rooms, buildings or spaces that you'd like to track in Scheduler. Locations can have contact people assigned to them, equipment linked to them, and be included in specific categories. To print a listing of locations, click  to produce a Location Report.
Examples: Conference Room, Main Hall, Courtyard
Add a Location
-
Go to Setup > Locations
-
Click
 .
. -
Enter a name in the General tab. You can also include notes about the location.
-
To get notifications of double bookings or conflicts, leave the 'Include in conflict checking' box checked.
-
Associate Categories, Equipment or Contact People on those tabs with check boxes.
Edit a Location
-
Go to Setup > Locations
-
Click
 .
. -
The right side of the screen will become active so you can make changes.
Delete a Location
-
Go to Setup > Locations
-
Highlight the category you want to delete.
-
Click
 .
.
Equipment
Equipment allows you to keep track of resources and tools. Equipment entries can be assigned to a location and contact person. To print a listing of categories, click to produce an Equipment Report.
Examples: Projector, DVD Player, Microphone
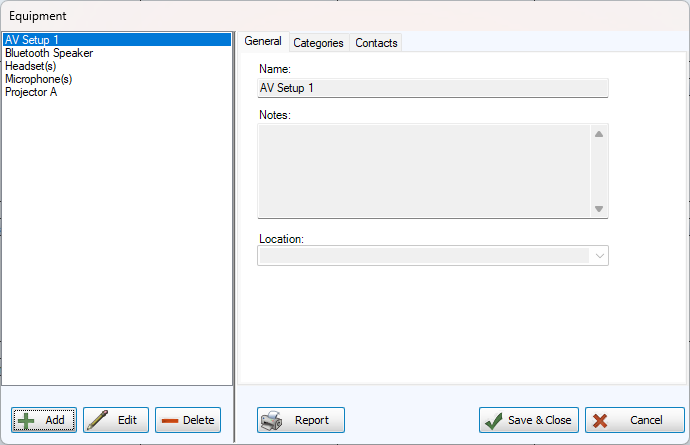
Add Equipment
-
Go to Setup > Equipment
-
Click
. -
Enter a name in the General tab. Optionally, include notes about the equipment.
-
To get notifications of double bookings or conflicts, leave the 'Include in conflict checking' box checked.
-
Associate Categories or Contact People on those tabs with check boxes.
Edit Equipment
-
Go to Setup > Equipment
-
Click
. -
The right side of the screen will become active so you can make changes.
Delete Equipment
You'll receive a warning message if the selected equipment you want to delete is scheduled.
-
Go to Setup > Equipment
-
Highlight the piece of equipment you want to delete.
-
Click
.
Duties
Duties can help manage tasks associated with an event by allowing you to list responsibilities and assign people to them. To print a listing of duties, click to produce a Duty Report.
Examples: Greeter, Celebrant, Usher
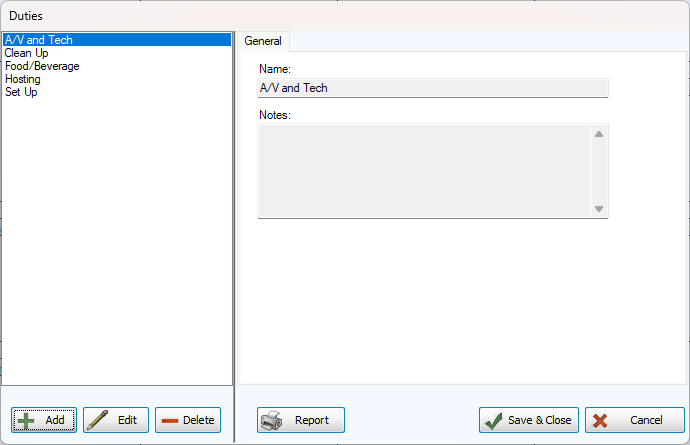
Add Duties
-
Go to Setup > Duties
-
Click
. -
Enter a name in the General tab. Optionally, include notes about the assignment.
Edit Duties
-
Go to Setup > Duties
-
Highlight the duty you want to edit.
-
Click
. -
The right side of the screen will become active so you can make changes.
Delete Duties
You'll receive a warning message if the selected duty you want to delete is scheduled. If you confirm the deletion, it will be removed from the events to which it is currently assigned.
-
Go to Setup > Duties
-
Highlight the duty you want to delete.
-
Click
.
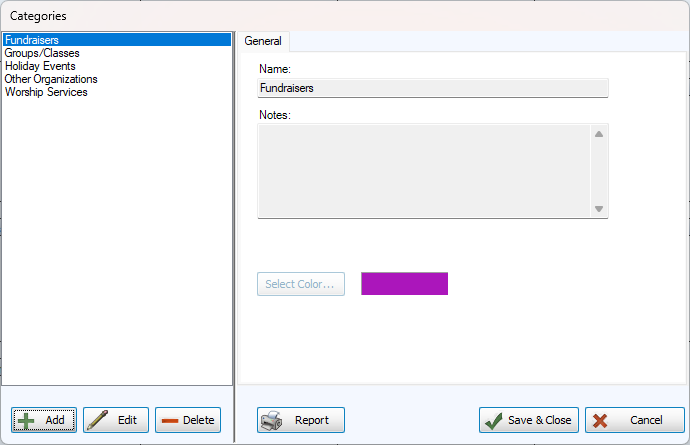
Categories
Categories allow you to structure and organize. To print a listing of categories, click to produce a Category Report.
Examples: Volunteering, Classes, Meetings
Add a Category
-
Go to Setup > Categories
-
Click
. -
Enter a name in the General tab. Optionally, include notes about the category.
-
Click
 to choose a color with the color picker.
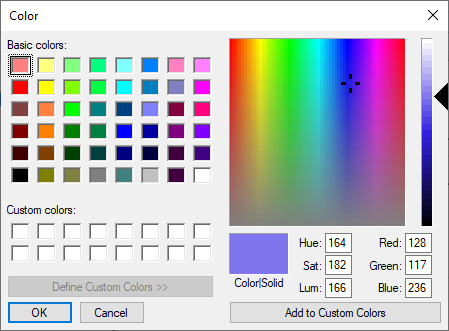
Edit a Category
-
Go to Setup > Categories
-
Highlight the category you want to edit.
-
Click
. -
The right side of the screen will become active so you can make changes.
Delete a Category
This action will remove the category, but will not affect Events associated with it.
-
Go to Setup > Categories
-
Highlight the category you want to delete.
-
Click
.
Shaded Areas
Shaded areas allow you to indicate sections of time on the calendar without creating an event. This visual cue can help organize days and times.
Examples: Lunch Hour, Open Hours, Quiet Time
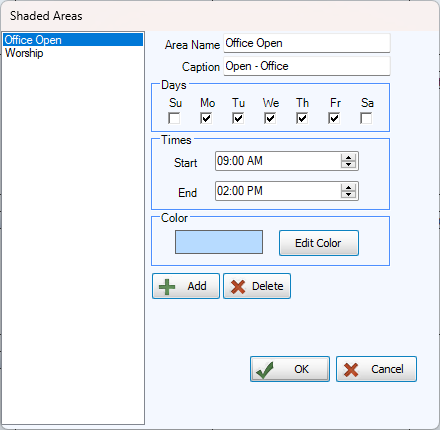
Add a Shaded Area
-
Go to Setup > Shaded Area
-
Click
. -
Give the area a name and caption (optional).
-
Select the days of the week with check boxes and time range.
-
Click
 to choose a color with the color picker.
Edit Shaded Areas
-
Go to Setup > Shaded Area
-
Highlight the area you want to edit.
-
Make adjustments on the right side of the screen.
Delete a Shaded Area
-
Go to Setup > Shaded Area
-
Highlight the area you want to delete.
-
Click
 .
.