Reports
As you create these reports, you will notice that you generally have the same options for each report. Choose any of the following tabs to apply additional settings:
Content
Options for what to include on the report.
Calendar, Category, Duty, Equipment, Event, Location, People
Format
Layout, arrangement, headings and page numbers.
Calendar, Category, Conflict, Duty, Equipment, Event, Location, People
Selections
Include only events that meet certain criteria.
Calendar, Event
Fonts
Design font styles for the header, subject matter, and time.
Calendar
Click Page Setup to access settings for paper size, margins and orientation.
Click Print to generate the report in a Print Preview window.
Calendar
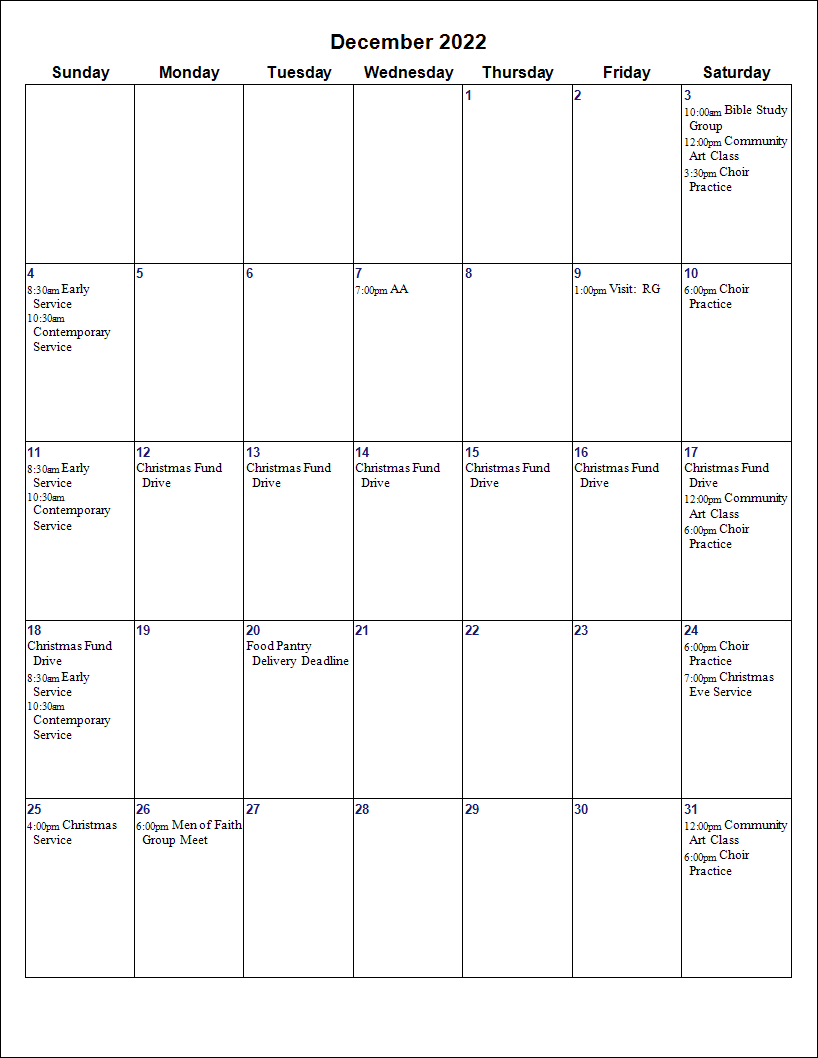
Example Calendar Report
Default
The report will allow you to print your events in a Calendar format. You can choose either a monthly calendar or a weekly calendar. The monthly calendar will show selected events for the specified month on one page. The weekly calendar will have seven columns with the events for each day reflected in the appropriate column. All-day events will appear first in either format:
Scheduler > Reports > Calendar > Layout
-
Select either Month or Week.
-
Month: Select the month to be printed in the dropdown menu. It will default to the current month.
-
Week Starting: Select the desired week from the dropdown menu.
-
Year: Select the year to be printed. It will default to the current year.
-
-
Choose any of the following tabs to apply additional settings:
-
Content Tab: Click Start Time to include the time on the printed calendar.
-
If the box is left blank, the Calendar will only include the name of the Events.
-
If you prefer to have the time listed first, followed by a description of the event, then select Show time before the subject. If this box is not checked, the time will follow the description of the event.
-
If you want to show the Location of an event, select Location.
-
You also have the option to change the heading by entering your own text in the Calendar Heading box.
-
-
Selections Tab: Allows you to limit the events that print on the report.
-
-
Click the Page Setup button if you would like to adjust the paper size, change the orientation from portrait to landscape, or adjust the margins.
-
Once you have made all your selections, click Print to view a Print Preview and send the file to your printer. You can also Export most reports and/or Send via Email as a file to be used outside of Church Windows.
Event Report
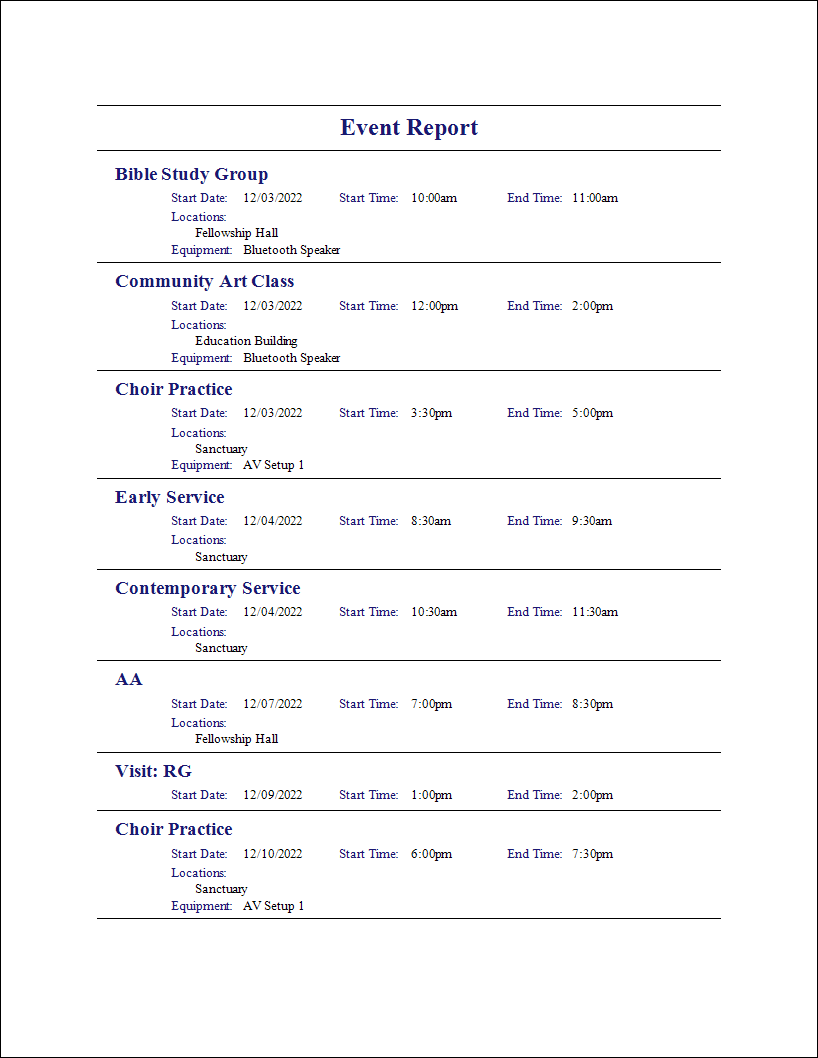
Example Event Report
Default
With the Event Report, you can pick and choose the event information you want to see, group the information in various ways, and filter the events to just the ones you want to see. This report shows events in chronological order for the date range specified.
Scheduler > Reports > Event Report
-
Enter the date range for the report in the Start Date and End Dates fields.
-
Group by: Select how you want the events arranged on the report by clicking on the dropdown button.
-
You can choose to group by Category, Contacts, Date, Duties, Duty Assignments, Equipment, or Location.
-
If you choose to group the events, you will also be able to choose to Include only those with events.
-
-
Choose any of the following tabs to apply additional settings:
-
Content Tab: Choose the details you want to see by checking/unchecking the items on this tab.
-
Format Tab: You can select different page arrangements, page numbering, and header options.
-
Selections Tab: Allows you to limit the events that print on the report. The program will keep the settings you select for the next time you print this report, except for those made on the Selections Tab.
-
-
Use the Page Setup button if you would like to adjust the paper size, change the orientation from portrait to landscape, or adjust the margin.
-
Once you have made all your selections, click Print to view a Print Preview and send the file to your printer. You can also Export most reports and/or Send via Email as a file to be used outside of Church Windows.
Conflict Report

Example Conflict Report
Default
The Conflict Report will list the Conflicting Events during the date range selected.
Scheduler > Reports > Conflict Report
-
Enter the date range for the report in the Start Date and End Date fields.
-
Format Tab: You can select different page arrangements, page numbering, and header options.
-
Click the Page Setup Button if you would like to adjust the paper size, change the orientation from portrait to landscape, or adjust the margins.
-
Once you have made all of your selections, click Print to view a Print Preview and send the file to your printer. You can also Export most reports and/or Send via Email as a file to be used outside of Church Windows.
Category Report

Example Category Report
Default
The Category Report is a simple listing of Categories that have been created in Scheduler.
Scheduler > Reports > Category Reports
-
Select the Categories to include on the report.
-
Choose any of the following tabs to apply additional settings:
-
Content Tab: Allows you to choose what will appear on the report. You can pick and choose the details you want to see by checking/unchecking the items on this tab.
-
Format Tab: You can select different page arrangements, page numbering, and header options.
-
-
Click the Page Setup Button if you would like to adjust the paper size, change the orientation from portrait to landscape, or adjust the margins.
-
Once you have made all of your selections, click Print to view a Print Preview and send the file to your printer. You can also Export most reports and/or Send via Email as a file to be used outside of Church Windows.
Duty Report
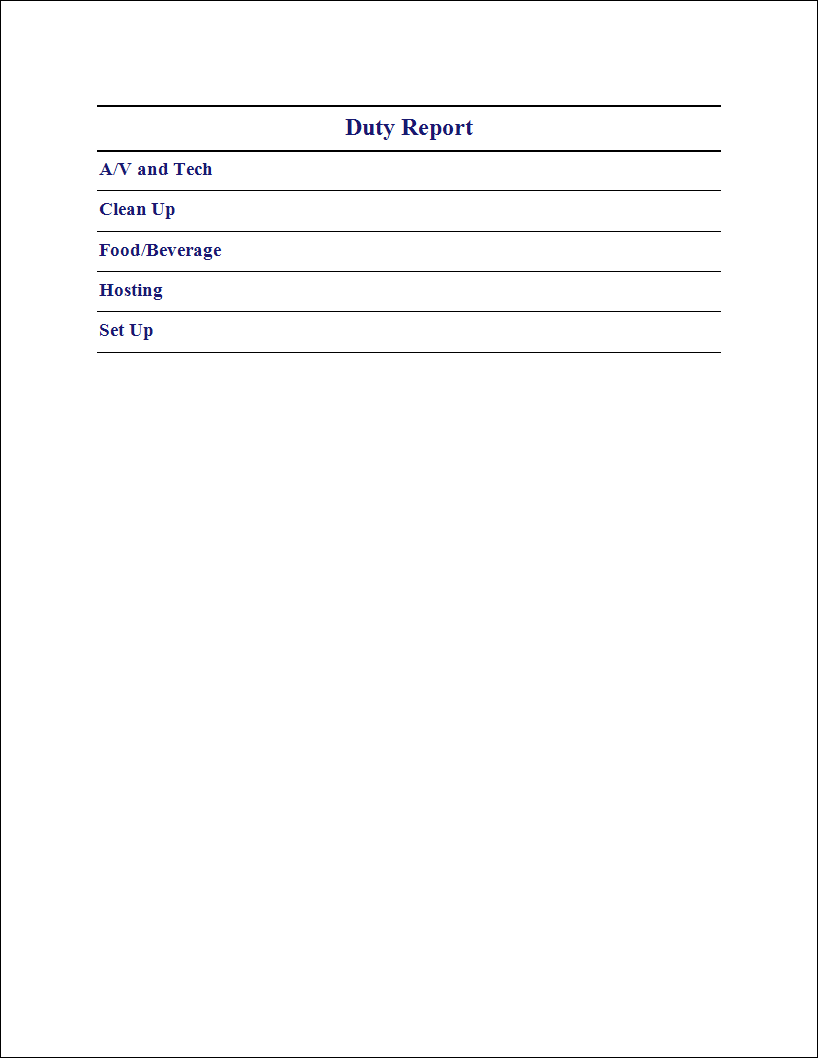
Example Duty Report
Default
The Duty Report lists all (or selected) duties that have been created in Scheduler.
Scheduler > Reports > Duty Report
-
Select which duties to include on the report.
-
Choose any of the following tabs to apply additional settings.
-
Content Tab: Allows you to choose what will appear on the report. You can pick and choose the details you want to see by checking/unchecking the items on this tab.
-
Format Tab: You can select different page arrangements, page numbering, and header options.
-
-
Click the Page Setup Button if you would like to adjust the paper size, change the orientation from portrait to landscape, or adjust the margins.
-
Once you have made all of your selections, click Print to view a Print Preview and send the file to your printer. You can also Export most reports and/or Send via Email as a file to be used outside of Church Windows.
Equipment Report
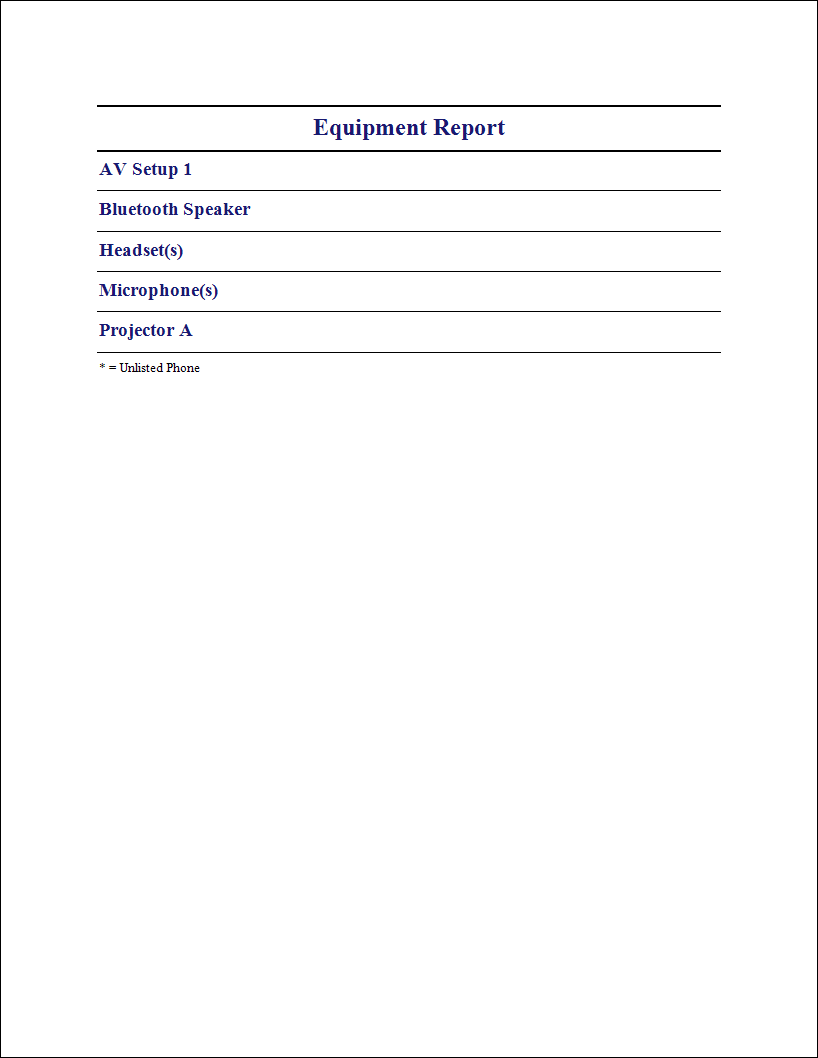
Example Equipment Report
Default
The Equipment Report is a listing of all (or selected) Equipment that has been identified in Scheduler.
Scheduler > Reports > Equipment Report
-
Select which pieces of equipment you want to include.
-
If you have assigned equipment to categories on the Equipment screen, you can limit this report to Equipment in a specific category. Click the dropdown button beside Select equipment in category to choose from the categories listed.
-
Further narrow the Equipment Report by unchecking pieces of equipment not desired on the report.
-
-
Choose any of the following tabs to apply additional settings.
-
Content Tab: Allows you to choose what will appear on the report. You can pick and choose the details you want to see by checking/unchecking the items on this tab.
-
Format Tab: You can select different page arrangements, page numbering, and header options.
-
-
Click the Page Setup Button if you would like to adjust the paper size, change the orientation from portrait to landscape, or adjust the margins.
-
Once you have made all of your selections, click Print to view a Print Preview and send the file to your printer. You can also Export most reports and/or Send via Email as a file to be used outside of Church Windows.
Location Report
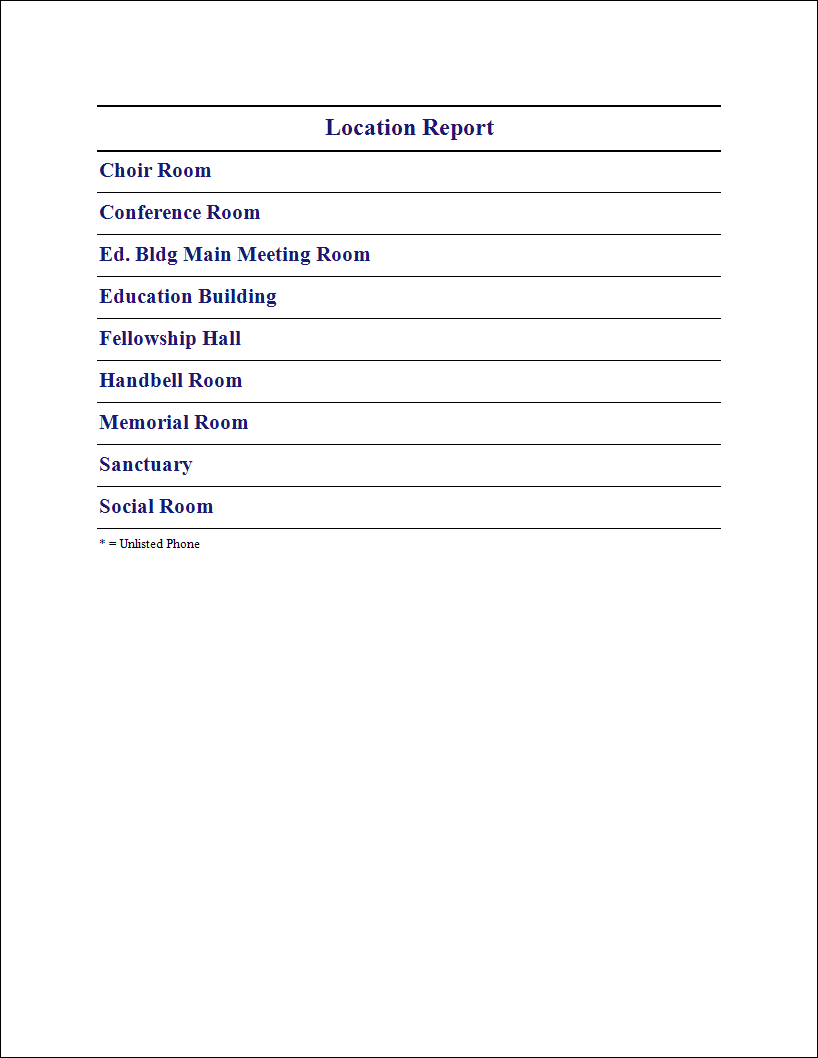
Example Location Report
Default
The Location Report is a listing of all (or selected) Locations that have been identified in Scheduler.
Scheduler > Reports > Location Report
-
Select the Locations to include in the report.
-
If you have assigned the locations to categories on the Locations screen, you can limit this report to those specific locations.
-
Click Select locations in the category to choose from the categories list.
-
You may further narrow the Location Report by unchecking locations not desired.
-
-
Format Tab: You can select different page arrangements, page numbering, and header options.
-
Click the Page Setup Button if you would like to adjust the paper size, change the orientation from portrait to landscape, or adjust the margins.
-
Once you have made all of your selections, click Print to view a Print Preview and send the file to your printer. You can also Export most reports and/or Send via Email as a file to be used outside of Church Windows.
People Report
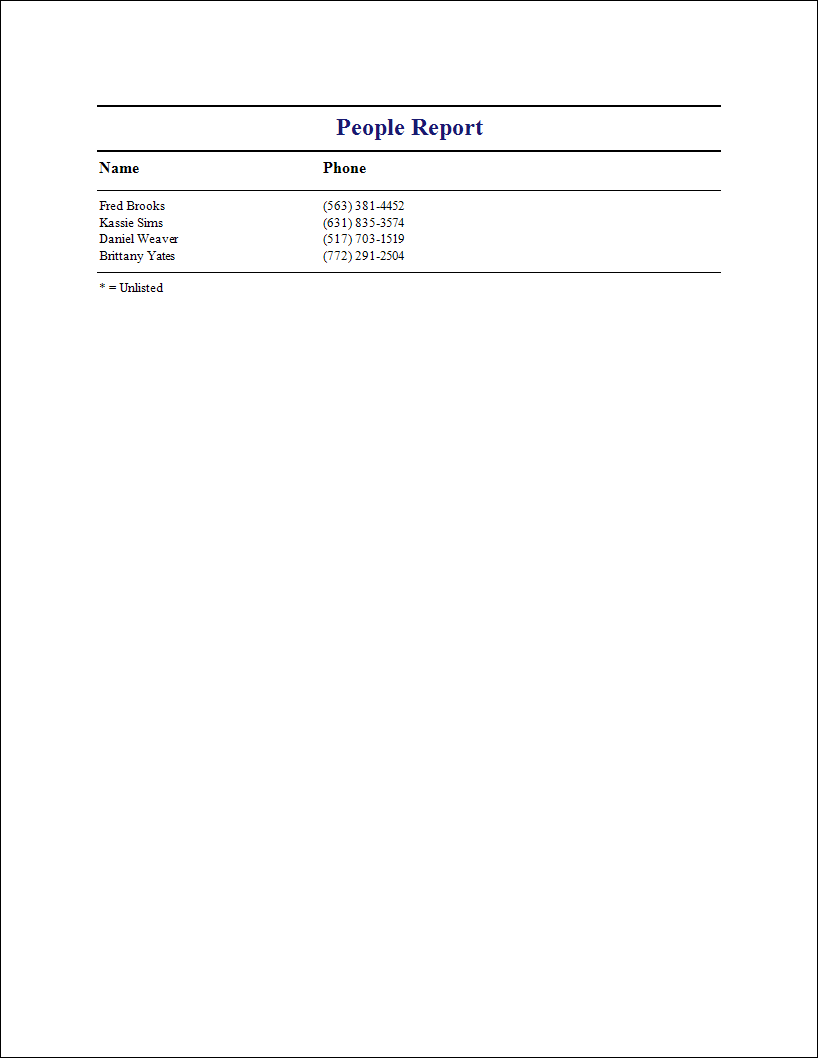
Example People Report
Default
The People Report lists all (or selected) people that have been activated in Scheduler.
Scheduler > Reports > People Report
-
Select the people you would like to include in this report.
-
Choose any of the following tabs to apply additional settings.
-
Content Tab: Allows you to choose what will appear on the report. You can pick and choose the details you want to see by checking/unchecking the items on this tab.
-
Format Tab: You can select different page arrangements, page numbering, and header options.
-
-
Click the Page Setup Button if you would like to adjust the paper size, change the orientation from portrait to landscape, or adjust the margins.
-
Once you have made all of your selections, click Print to view a Print Preview and send the file to your printer. You can also Export most reports and/or Send via Email as a file to be used outside of Church Windows.