Manage Givers
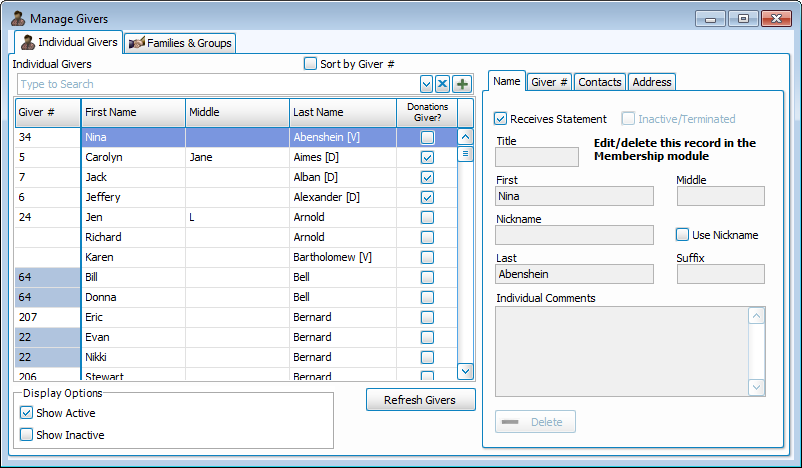
The Manage Givers screen keeps track of all of the information that is associated with the Givers in your database. The screen is divided into two tabs, Individual Givers and Families & Groups, which you can use to locate the name of the Giver whose information you want to view or change.
The Manage Givers screen can perform the following tasks for Givers and their information:
Add an Individual Giver or a Group of Givers
If a Giver is not found in the Manage Givers list, you can Add Givers by clicking the
Add button.
View, Change, or Remove Giver Information
Such information includes the contact and address information. You can also Assign Giver Numbers, change the status of Inactive for Donations Individual Givers, or see whether Membership Individual Givers give with their family.
Use the Individual Givers tab to look up the desired by first and last name. If you are looking for a family, or for a group of Givers, use the Families & Groups to look up the Givers.

Note:
The Manage Givers screen combines all of the information that has been entered into
The People File in the
Membership Module and any Givers entered through the
Donations
Module.
To access the Manage Givers screen:
- Click Givers in the Button Bar at the top of the screen:
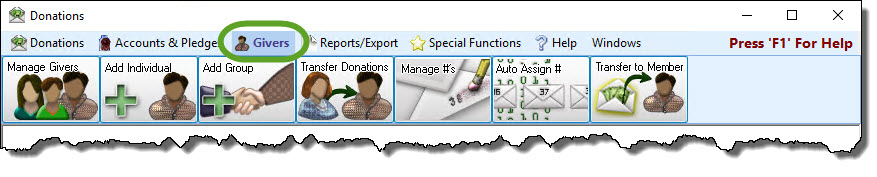
- Click the Manage Givers button:

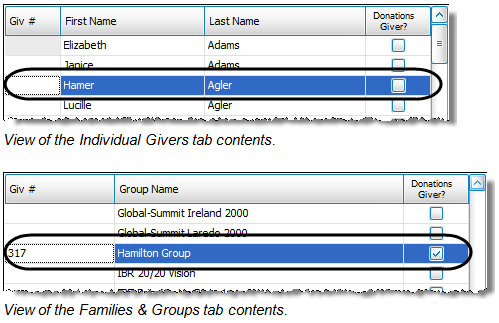
- Click the tab that best describes the type of Giver that you are looking for:
- Click the desired name of the Individual Giver, Family, or Group from the list in the larger left portion of the screen.
Some of the following columns will appear on both tabs while others will appear on either the Individual Givers tab or the Families & Groups tab: - Giver #: The Giver Number which is assigned to the Individual Giver, family, or group on the Giver # tab or in Manage Giver Numbers
- First Name: The first name of the Individual Giver.
- Last Name: The last name of the Individual Giver.
- Donations Giver?: A checkmark will show in this box for any Individual Giver, family, or group that was entered into the software as a Donations Individual Givers and is therefore not included in the Membership database.
- Group Name: The name of the group or family of Givers.
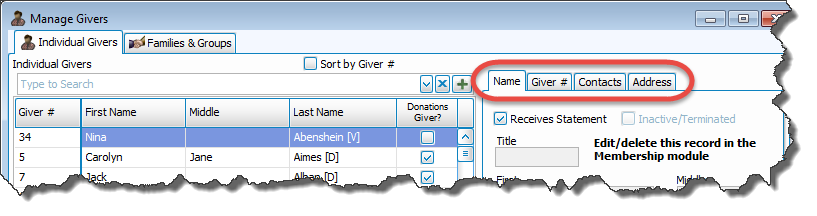
- Located on the right side of the Manage Givers screen are the following four tabs:
 Name
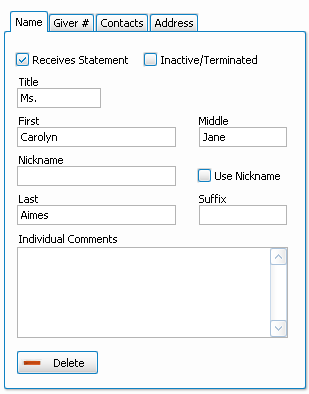
NameWhen an Individual Giver is selected, the Name tab information will appear like so:
When a Family or Group Giver is selected, it will look like this:

Here you can make changes to the following information:- Receives Statement
You must place a checkmark in this box if the selected Giver is supposed to receive
Donation Statements. If there is no checkmark in this box, the software will not be able to print a statement for the selected Giver.
checkmark in this box if the selected Giver is supposed to receive
Donation Statements. If there is no checkmark in this box, the software will not be able to print a statement for the selected Giver.Note:
If you receive an error message stating that a person was "excluded by a filter":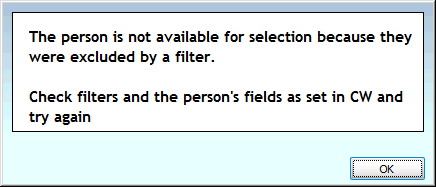
The Receives Statement checkbox is almost always the filter the message is indicating. - Inactive
If you place a checkmark in this box the Giver will not appear on any reports or statements. This box is only available for people entered into the software as
Donations Individual Givers. - Use Nickname
If you place a checkmark in this box, whatever name is placed in the Nickname box will print on the statement. - Individual Comments
You can type any additional information about the Giver in the box. - To remove Donations Individual Givers, click the Delete button. This will only be available if you have never entered a donation into the system for the selected Giver.
Giver #Change any of the following items, according to what you need to change:
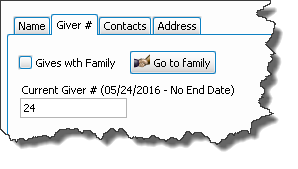
- Gives with Family
- Make sure that the
 checkmark from the Gives with Family box has been removed:
- Click the Add New # button:

- Enter the number and start date:
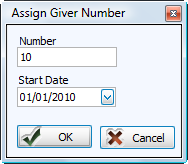
- Click the OK button and the item will be highlighted in the list below.
- Place a checkmark in the Gives with Family box:

- Press Yes to make the change, or No to refrain from making any changes.
- If you do not get a message at all, your change was made successfully.
- Once the Go to family button appears, you have successfully added the individual to the family to which they belong.
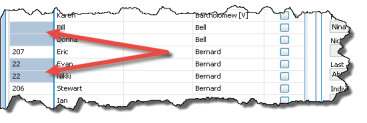
- The list on the left side of the Manage Givers screen will show a blue box for those Givers you have assigned as Gives with Family (and they will have the same Giver Number, if one is assigned).
- If needed, you can now enter the Giver Number that the family will share (if one has not already been assigned), use either:
- Manage Giver Numbers
- Click the Add New # button:
- Enter the number and start date:
- Click the OK button and the item will be highlighted in the list below.
- Manage Givers
- Click the Go to family button
- Type the desired number in the empty Current Giver # box on the Giver # tab.
- You can now assign other numbers or close the window.
- Go to family Click the button to go to the listing for the family of the currently selected Giver. If the individual does not give with their family, this button will be grayed out.
- Current Giver #
Place a
 checkmark in this box to indicate if the Giver is giving with their family:Giving SeparatelyGiving with Family
Note:
If a Giver already had a giving number assigned, you will get the following message. If you press Yes, the Giver will no longer have the giving number previously assigned: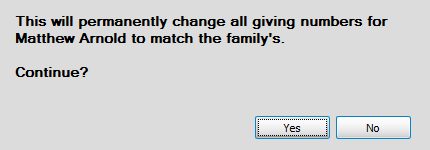
OR
Note:
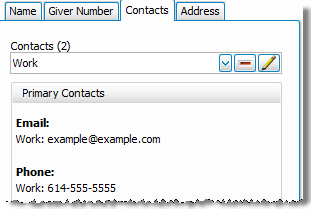
Giver #s are no longer required by Church Windows. If your Church does not use physical envelopes or giver numbers in your actual daily operations, you do not need to use them in the software. You can still enter, keep track of, and print Reports, Labels, and Statements for Givers without assigning them numbers.ContactsAllows you to make any changes to the phone number and/or email information used to contact the Giver:
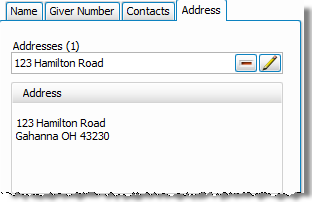
 Address
Allows you to make any changes to the mailing address information:
- Receives Statement
Note:
Most of the fields on the Name, Contacts, and Address tabs are only available for editing Givers that were entered as Donations Individual Givers. If the message below does not appear, it will allow you to make any desired changes:
If this message does appear, only the Giver # tab and the Receives Statement checkbox will be available to edit here. Everything else will need to be edited in
The People File.
