KidCheck
This is a new interface available to all customers who would like to utilize the KidCheck utility and be able to have it interface with the Church Windows Membership Module and upload the Church's information to the KidCheck online interface. This is synchronization is used for sharing people's contact information between the two programs, it does not have any affect on attendance records in either program.
Note:
To actually be able to do this, you need to be a customer of KidCheck and have a login that they have assigned. Go to www.KidCheck.com for more information.
To access the KidCheck screen:
- Click on Membership from The Initial Portal to open up the Membership Portal
- Click on Attendance in the Button Bar at the top of the screen
- Then click on KidCheck
- This will open the screen that will let you login to KidCheck:

 What is KidCheck?
If you want more detailed information about this add-on, click on the question mark at the top left of the screen:
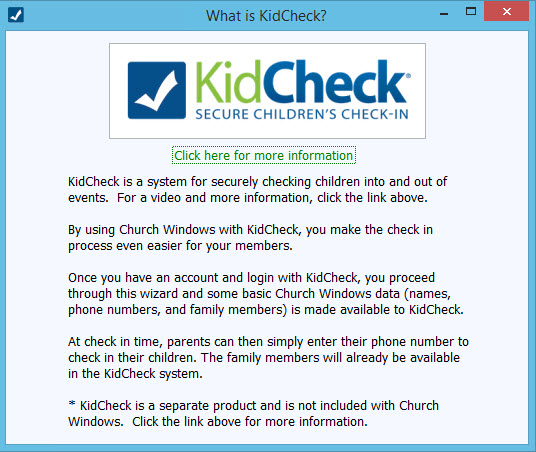
This brings up the basic information about what the utility does, along with a link that will bring you to the KidCheck website for detailed information about pricing, options, and how to get set up with them:
Match Fields →←
First KidCheck will want you to match their fields to the relevant Membership Family Record Fields and Individual Record Fields. It will ask you to do this the first time you open it, or you can go back in to change at any time by clicking the Match Fields button at the bottom right of the login screen:
This will open the screen to match the specific information fields from KidCheck to Church Windows, for example:
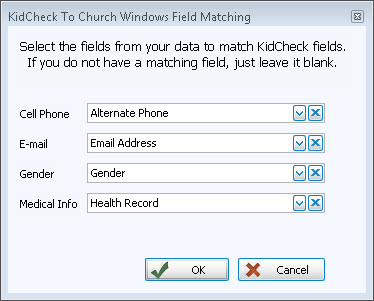
Since they may have different specific names, the purpose here is to match the KidCheck fields with the corresponding Church Windows Membership fields
For example the KidCheck "Medical Info" field might need to be matched with a field in Membership called "Health Record".
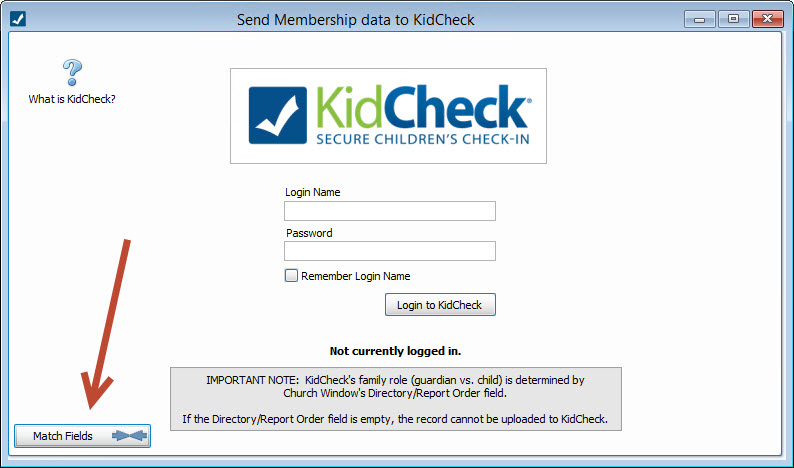
Send Data
In order to utilize the KidCheck interface, you will need to login with your credentials provided by KidCheck. Once you have logged in, you will get to the "Send Membership data to KidCheck" screen. You are basically linking Membership records from The People File to the corresponding KidCheck records.
- The first time you login, you will be asked to Match Fields →←
- Then you will get the following message:
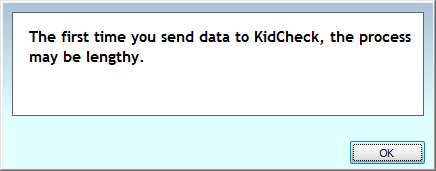
- You may also see a window with a progress bar while you are waiting for the information exchange to finish.
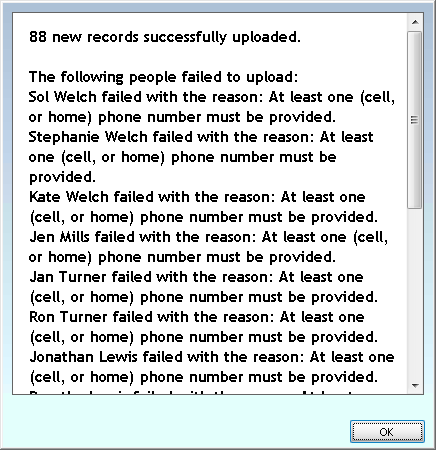
- Once it is done, you will get a message saying how many records were successfully uploaded and how many (if any) failed to upload and why:
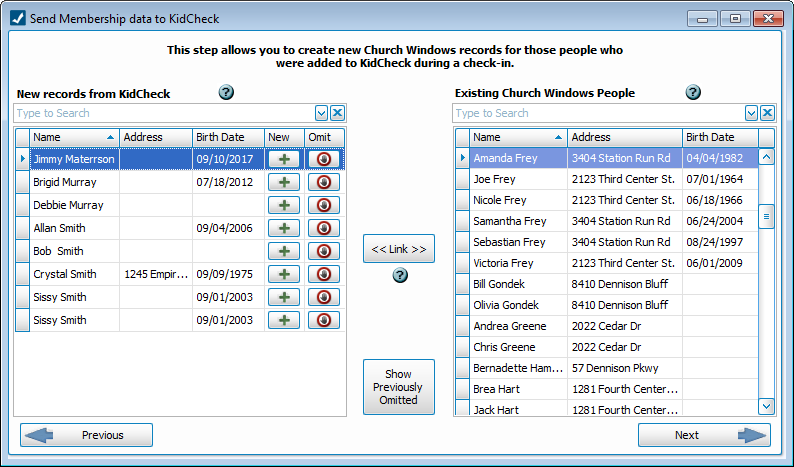
- Then, a window will open with lists of people on the two halves of the screen:
- On the left half are the new records pulled from KidCheck
- On the right half are the existing Church Windows records
- You have a few options here:
- Click the
 button to open the Add a New Person from outside of the People File screen:
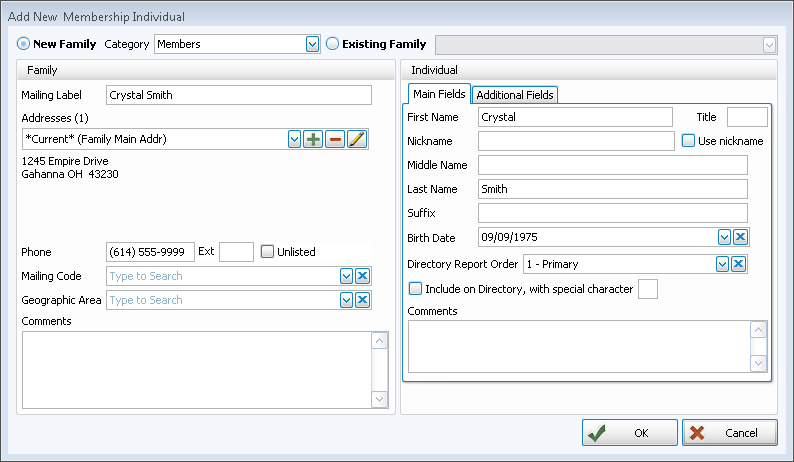
- The existing information about this person from KidCheck will be inserted into the appropriate fields once you choose a Family Categories for a New Family or once you choose an Existing Family from the list.
- Add or Edit any information here, as needed.
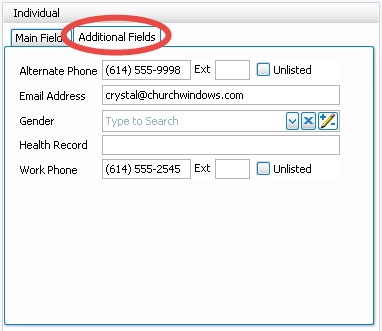
- Use the Additional Fields tab (only available when adding people from KidCheck) to add more personal information to this record:
- Then click OK to save or Cancel to close.
- Click the
 Omit button if you want a record from KidCheck to be excluded from the process of linking records to Church Windows.
 - The Show Previously Omitted button will do just that, it will show any people that have been omitted both for reference or if they need to be re-activated, you can make them available again by placing a
 checkmark next to their name(s):
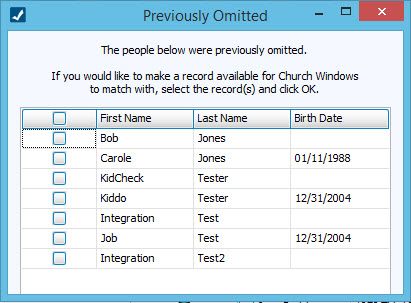
- Select the matching records on the left and right sides of the screen
- Click the << Link >> button
- The system will confirm that you want to match those to records and gives you an opportunity to cancel the link if you have made a mistake:

- Click Yes to save the match or click No to cancel.
- When you're finished, click the → Next button.
- Click the ← Previous button if you need to go back and make changes.
Note:
There are three interactive  Help buttons here to explain the fields and how they work:
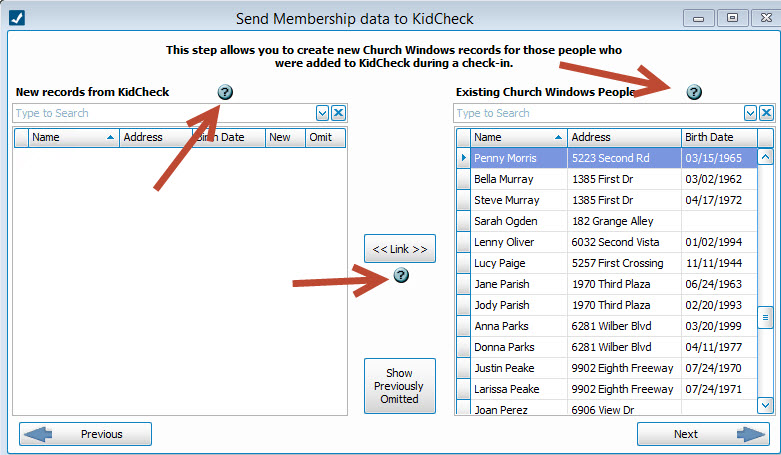
Clicking on these help buttons will give you more detailed information about the associated fields to help you understand how the process works.
Add a new record
Omit a record
Link records
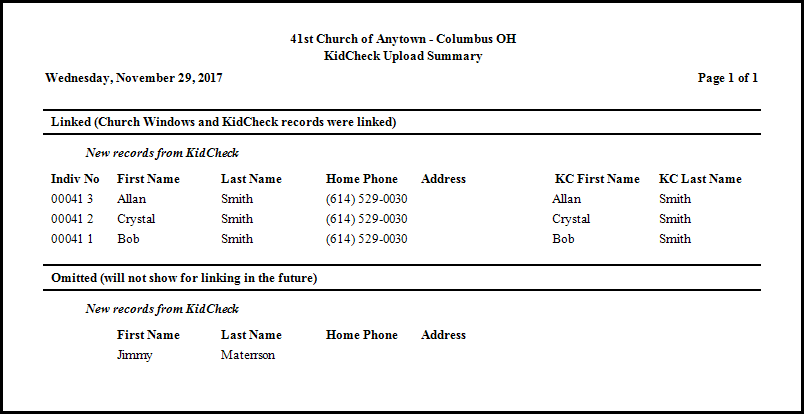
After you have made new links and/or omissions, you will get the final screen showing what you did. You can click either Undo button to rescind any of you changes before finalizing, as well. When you are ready to complete the exchange, click Finish at the bottom:
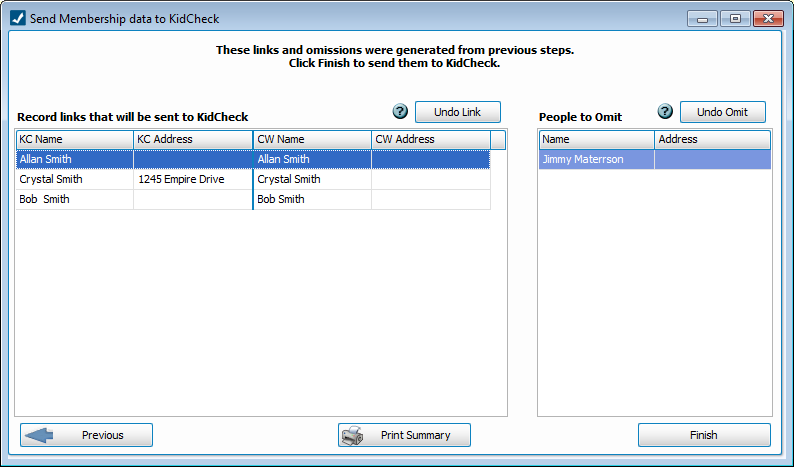
This will send the changes to the KidCheck website interface and you will get a message referring to successful changes. Otherwise, click the X to close and discard your changes. Then click Close.
Finally, you have the option to print a report of your work by clicking the Print Summary button.