Donation Browser Options
The Donation Browser window allows you to control what donations appear in Browse. Common uses of the Donation Browser could include:
-
Searching for donations with a particular payment method.
-
Searching for donations that were previously reversed.
-
Getting a big picture view of donations, broken down by account.
Access Browse Donations
To access Donation Browser Options go to Donations > Browse Donations > Change Dates, Filter, & Sort

Browse Donations displays all transactions in a grid-style set up. You can filter the donations and decide how you want them displayed.
Sort - Click on a column heading to sort by that field in ascending or descending order. Those sorts are indicated with a blue arrow.
Group - Grouping by a column will create a subheading with expandable detail. To group donations, click and drag the column heading into the gray area just above the grid. You can group up to three tiers.

Group and Sort
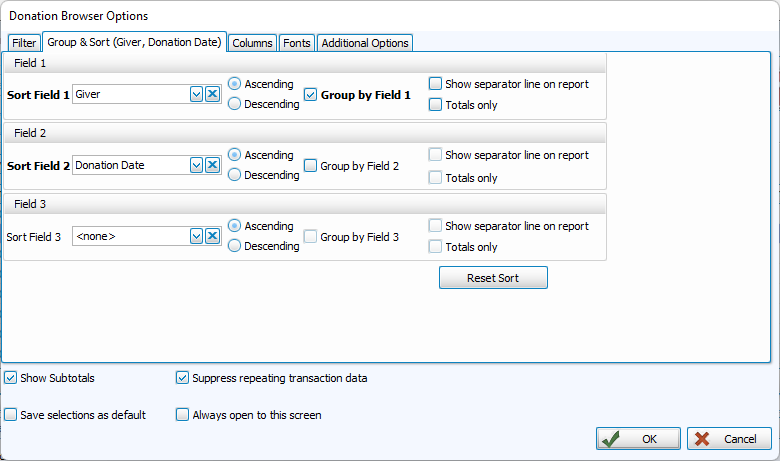
Sort fields allow you to order information. The first takes priority, when those are all the same, the program will sort within that section by the selection in the second, and then the third.
-
Sort in Ascending (A-Z, 0-9) or Descending (Z-A, 9-0) order.
-
Click
 to restore defaults.
-
Check Show separator line on report to separate grouped fields on your report.
-
Check Totals only to omit individual transactions.
-
Click
 to restore your default settings.
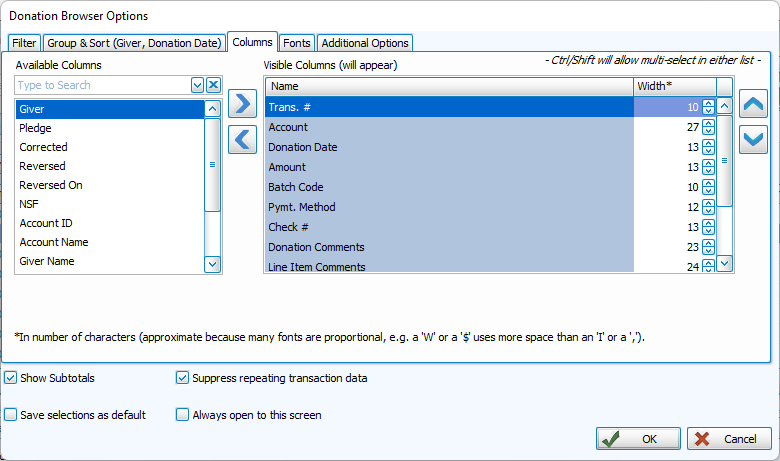
Columns
-
Move columns you want to include to the right, and columns you want to exclude to the left.
-
Use the
 and
and  or double click to move a column to the opposite side.
 -
To select multiple columns at once
-
Click + CTRL - Selects multiple lines in any order
-
Click + SHIFT - Selects a range of lines in row
-
-
Use the
 and
and  to change the order of the columns from left to right.
 -
Determine the width of a column by character count. Change or abbreviate how a column is titled by editing Report Column Header.
-
Columns that appear in bold are Detail Report Columns and include additional information indented under a subheading.
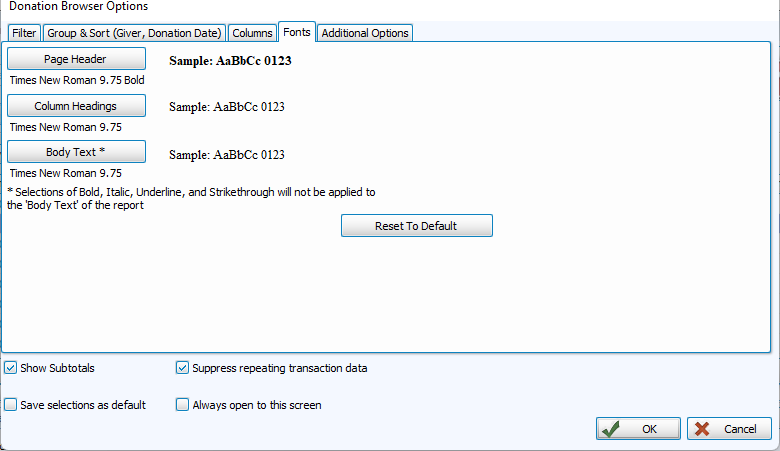
Fonts
-
The Fonts tab is where you can control the typography of your report.
-
Click
 to restore the default 9.75 Times New Roman.
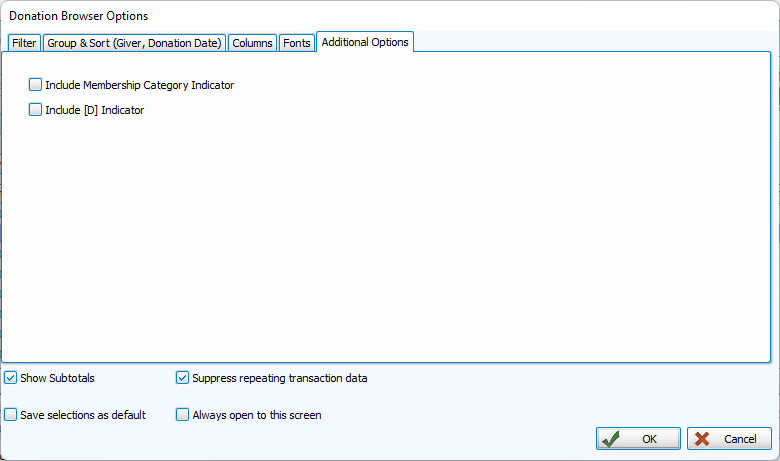
Additional Options
-
These options allow you to include Family Category codes in a report printed from the Browse Donations screen. [D] indicates a Donations Record and other codes correspond to those set up in Membership for People Records.